


Configure WebRTC Client Settings in HashTech SIP
Learn how to configure WebRTC client settings within the HashTech SIP platform. This guide details the steps for setting up and managing your WebRTC client, including user authentication and tenant selection, to ensure seamless communication.
1. Navigate to https://sip10.hashtech.tel/
2. Click here.
3. Double-click here.
4. Double-click this text field.
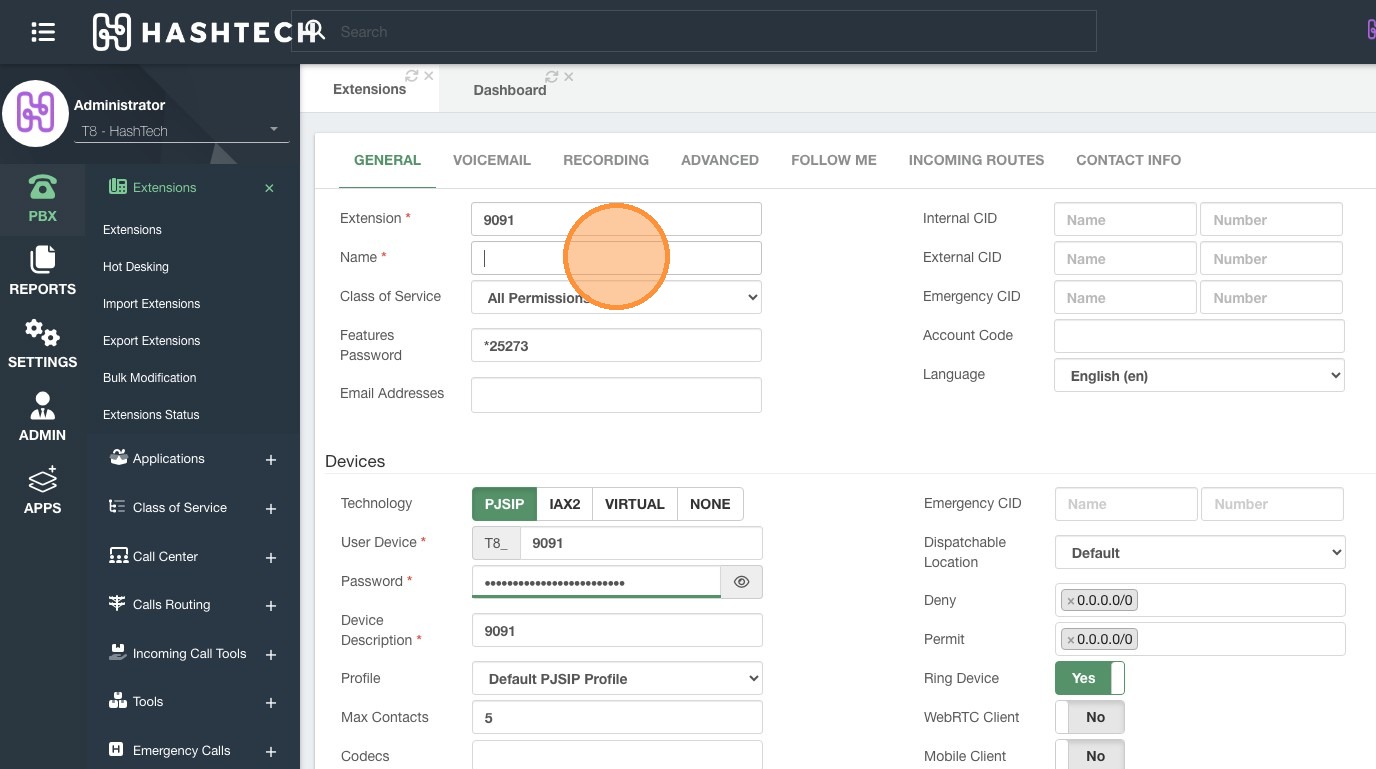
5. Double-click this text field.
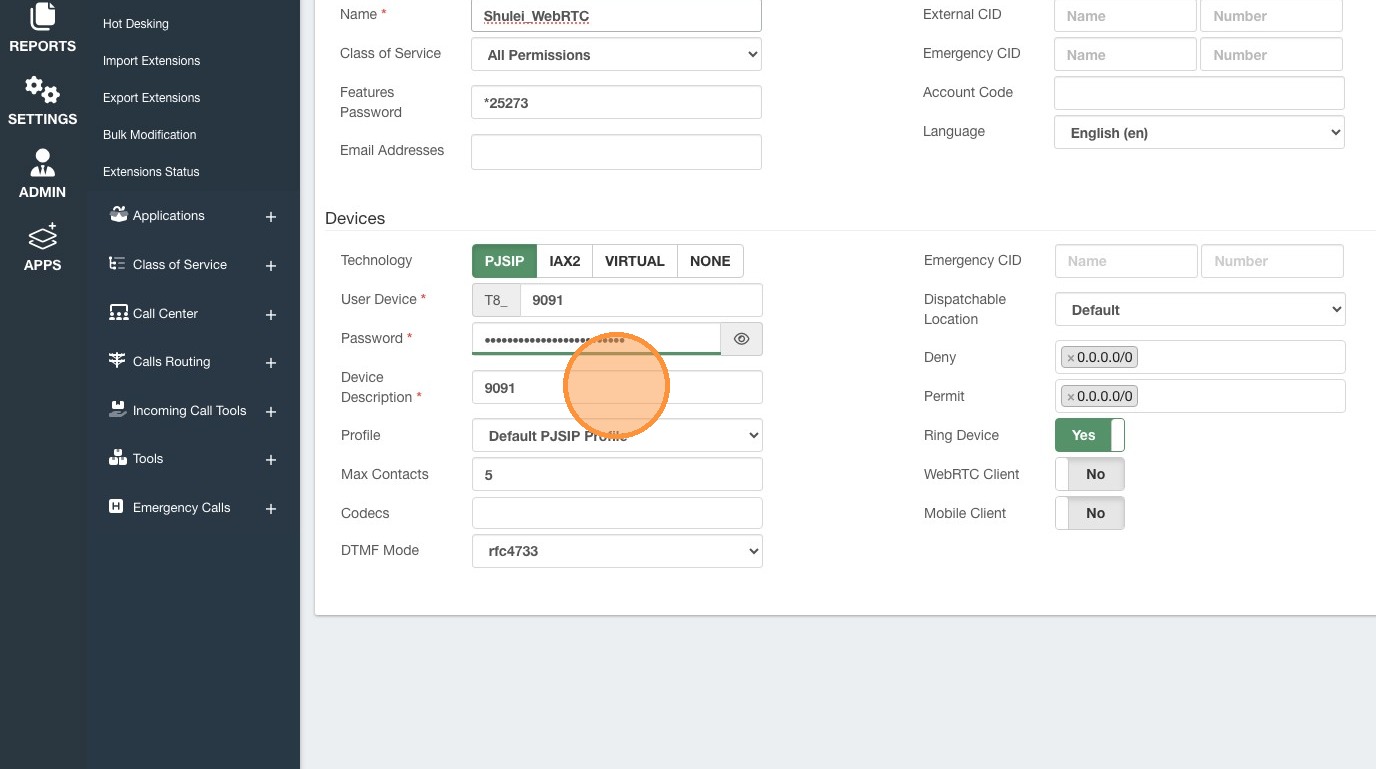
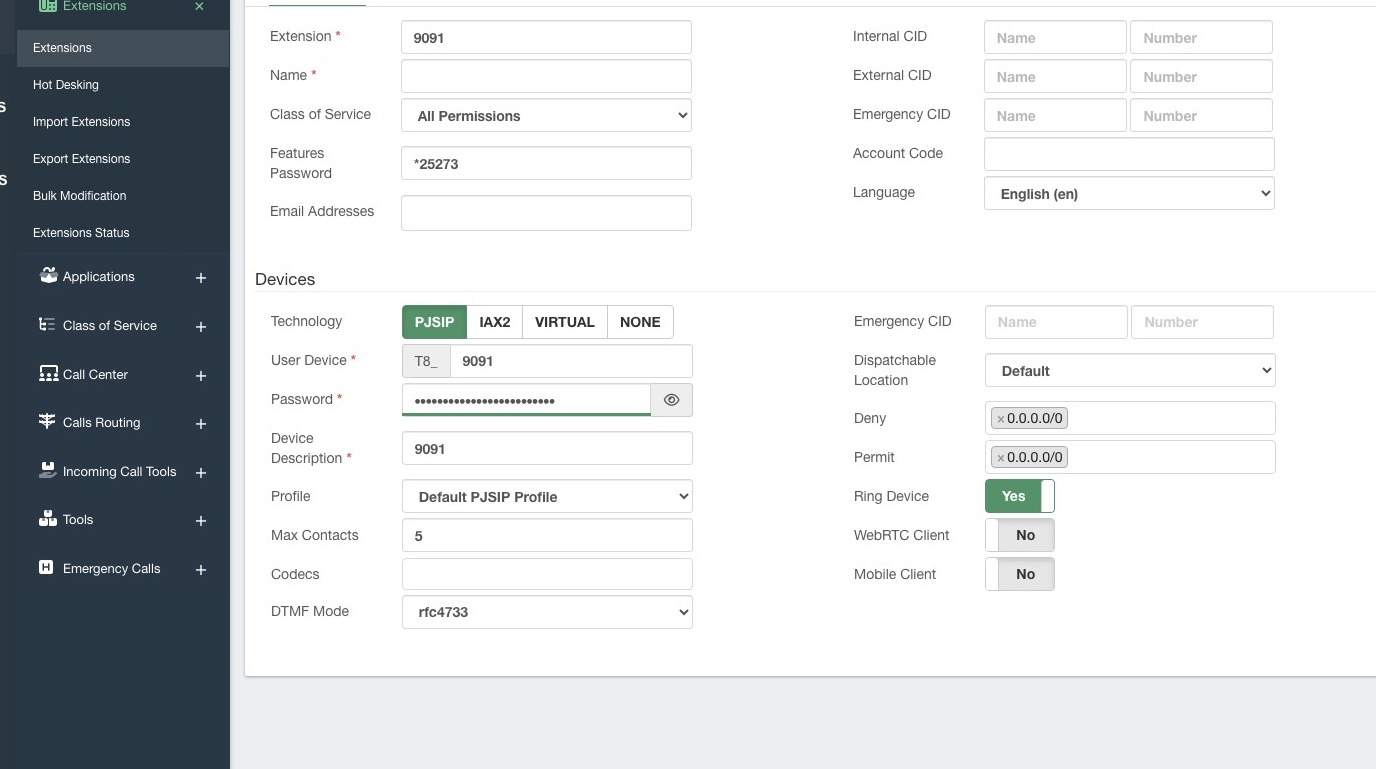
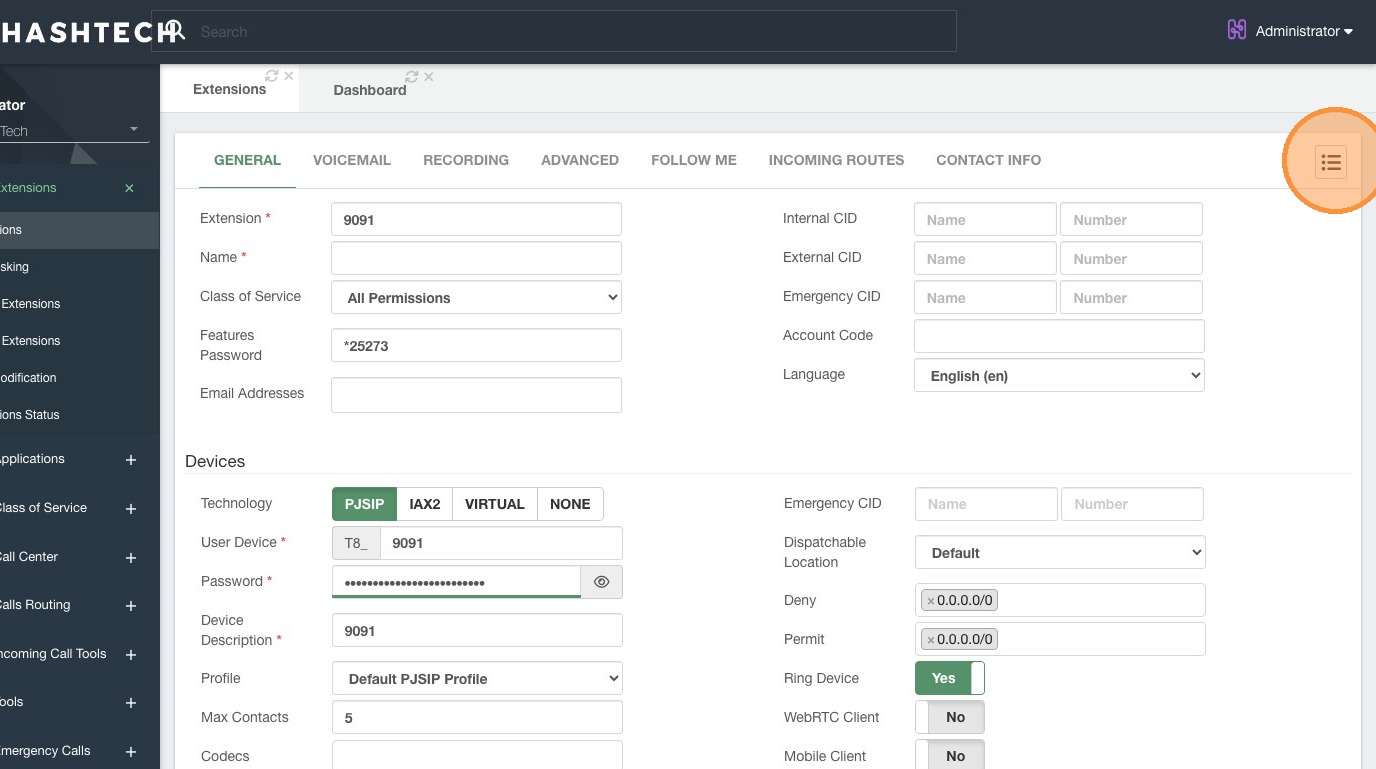
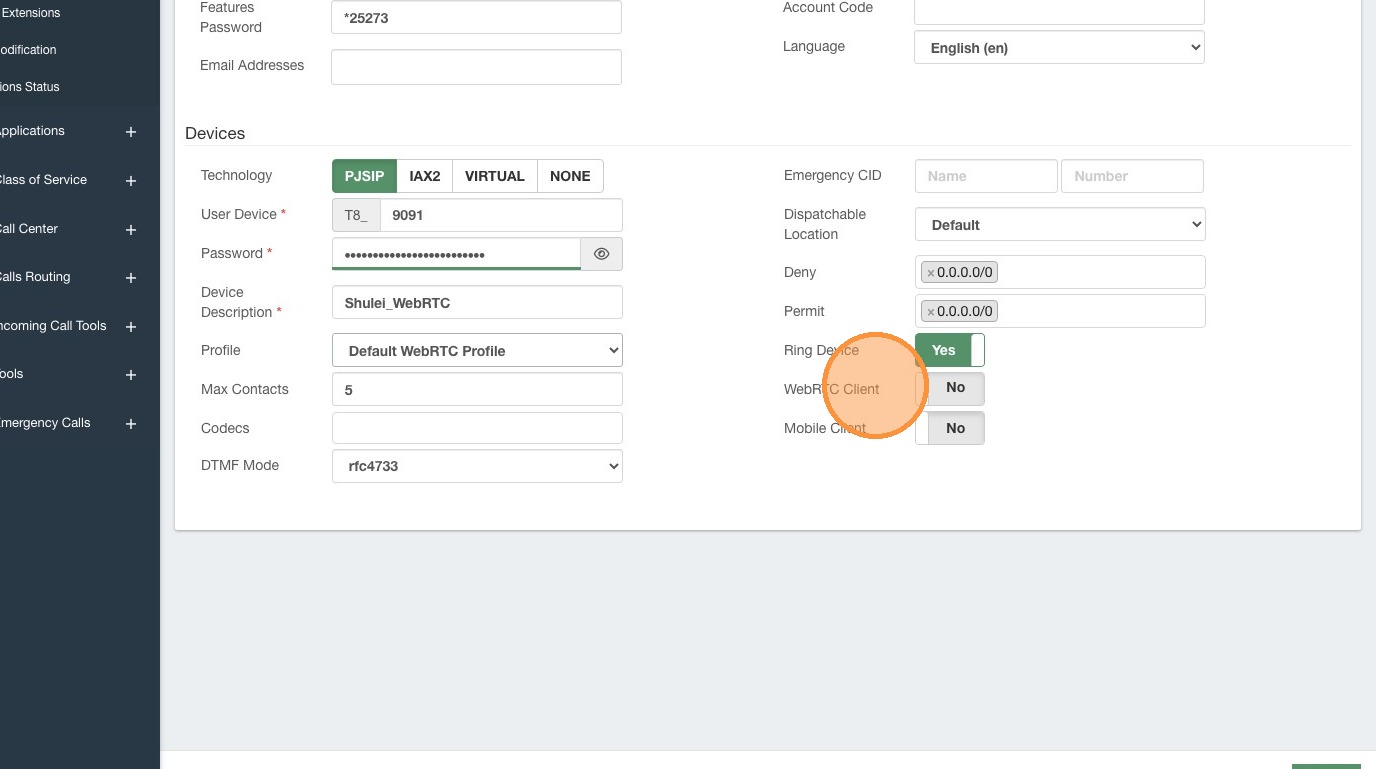
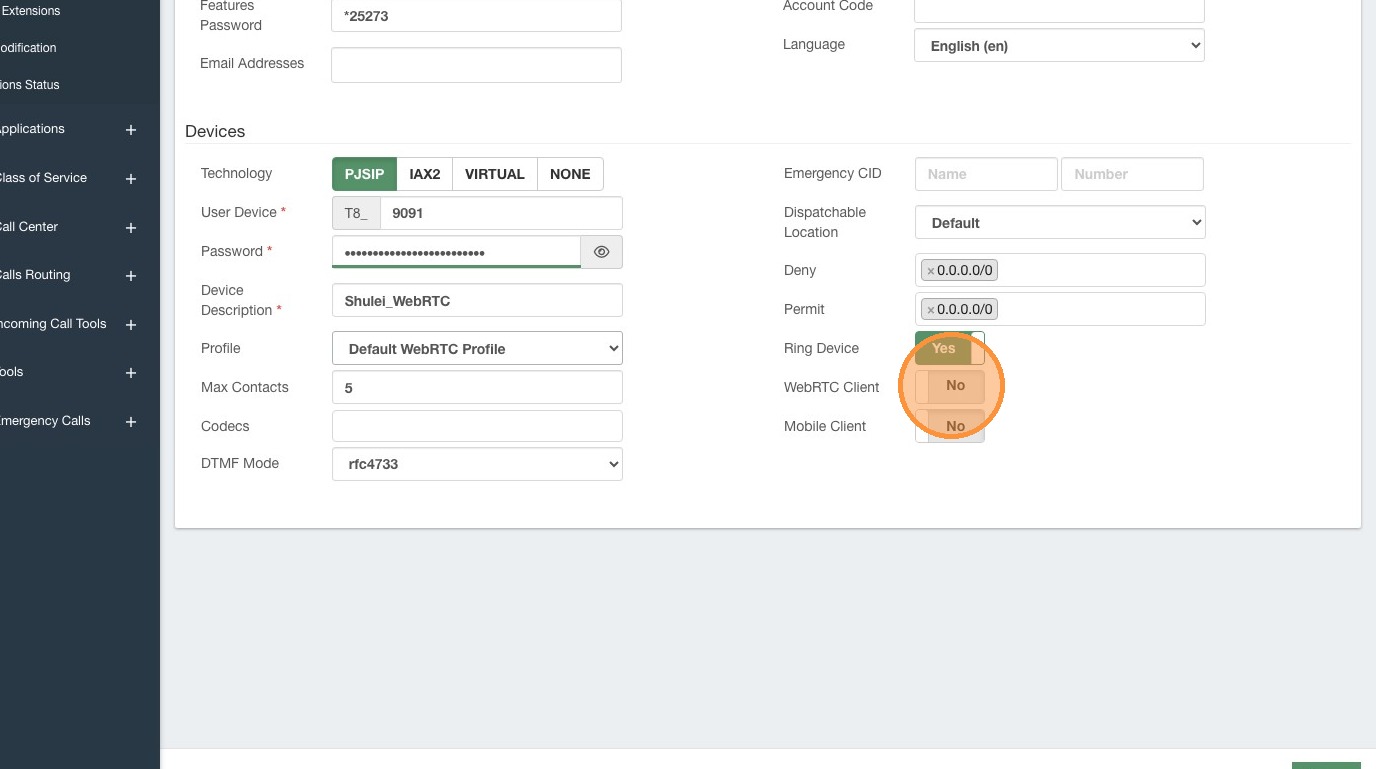
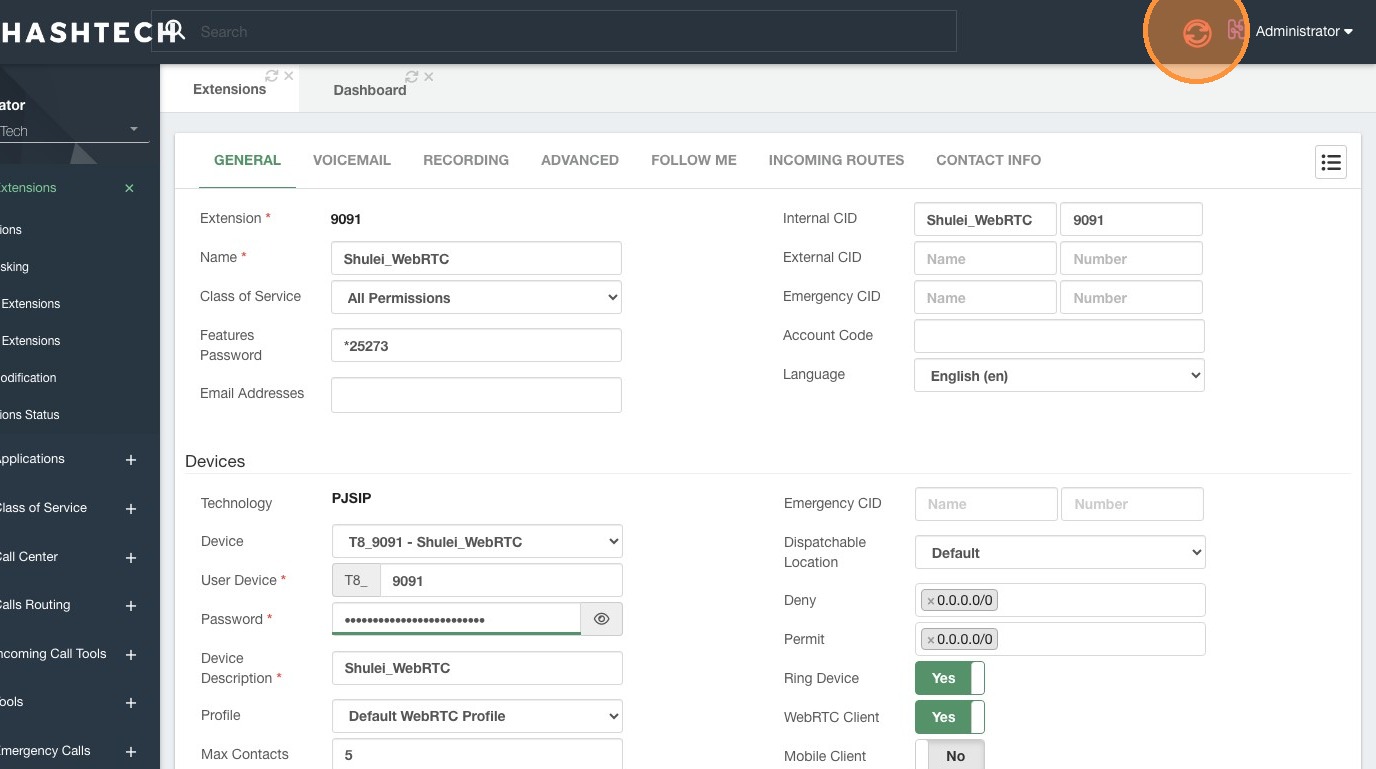
6. Click "WebRTC Client"
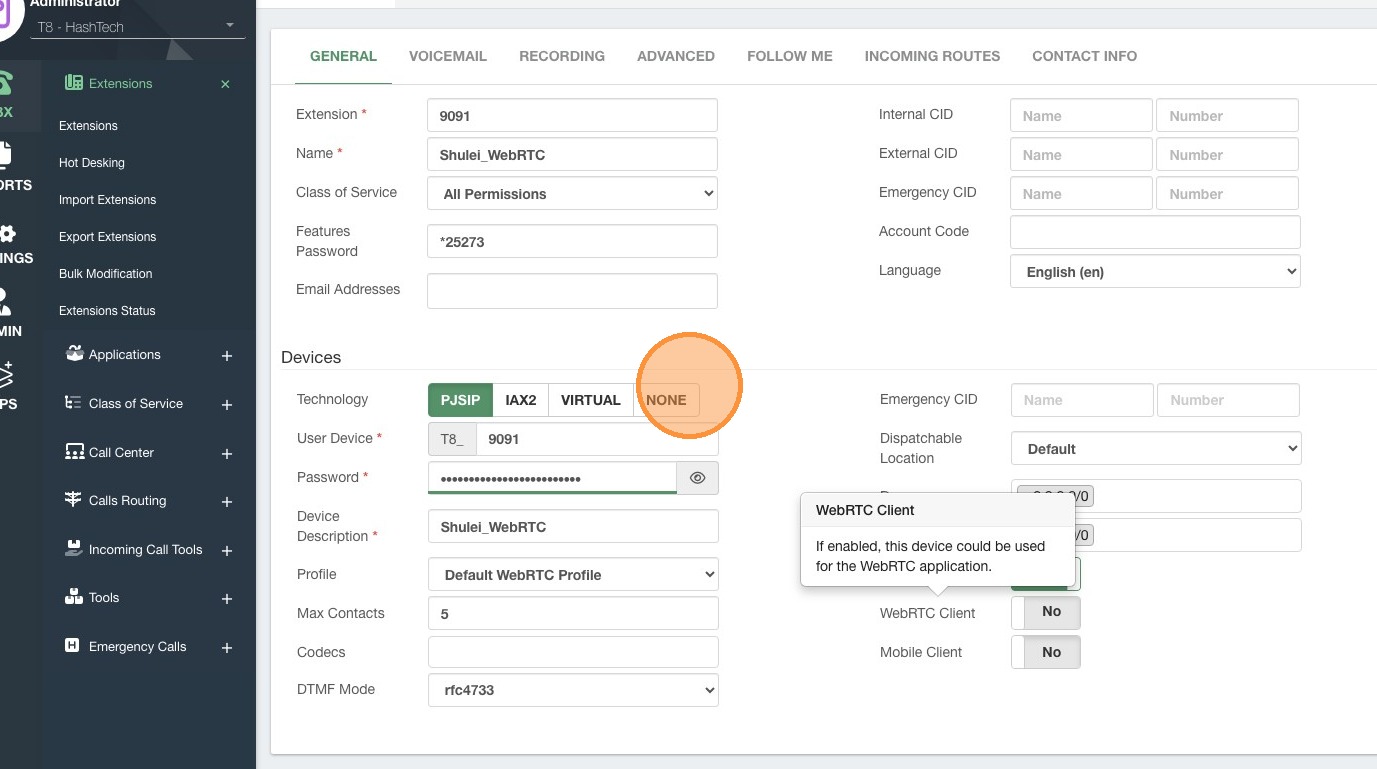
7. Click "NONE"
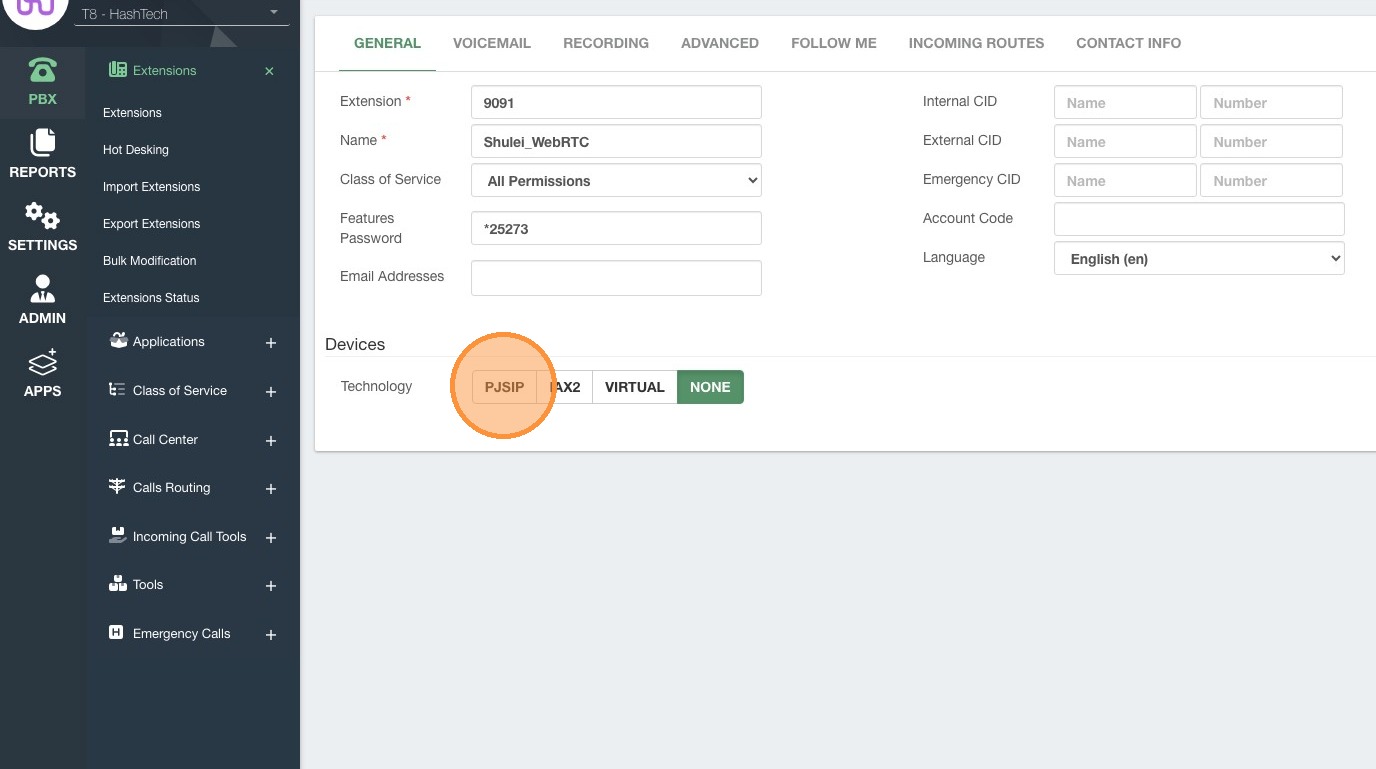
8. Click "PJSIP"
9. Click "No"
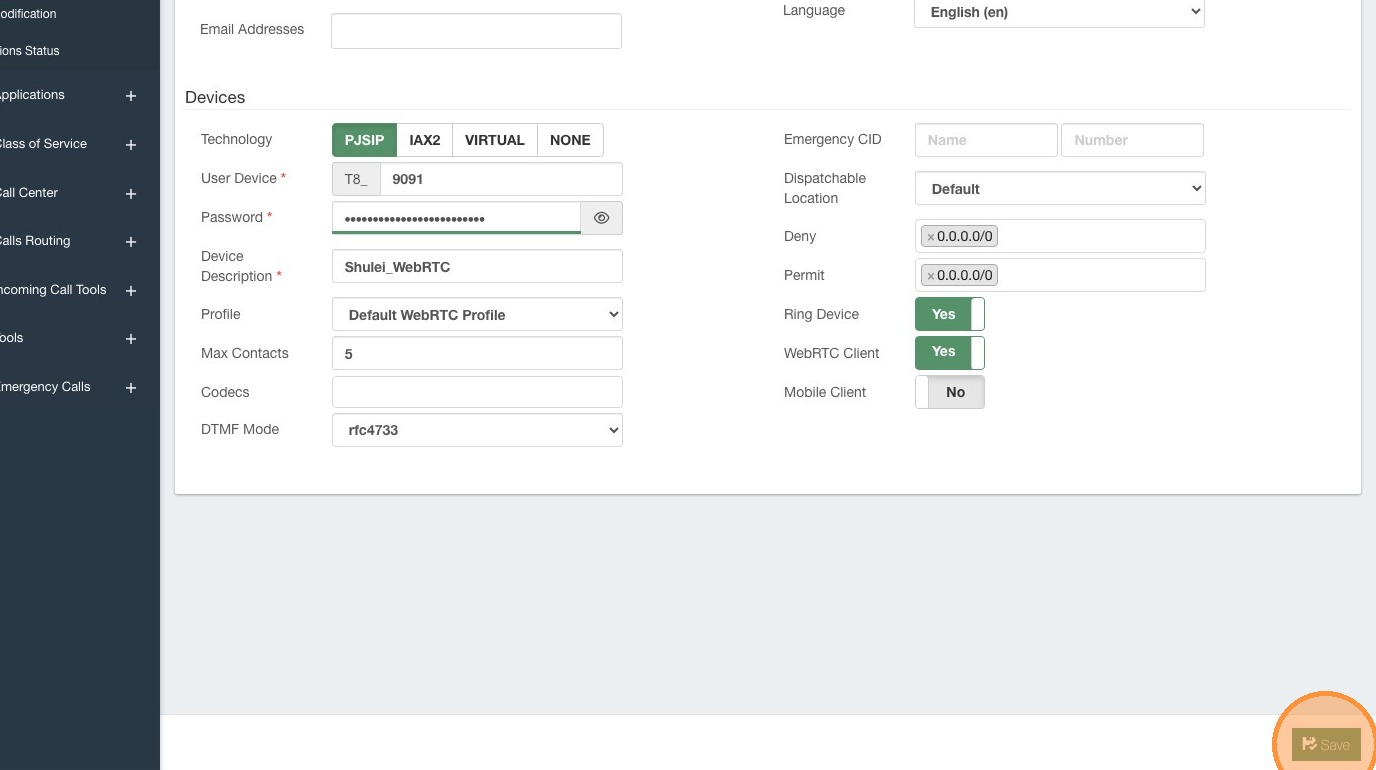
10. Click "Save"
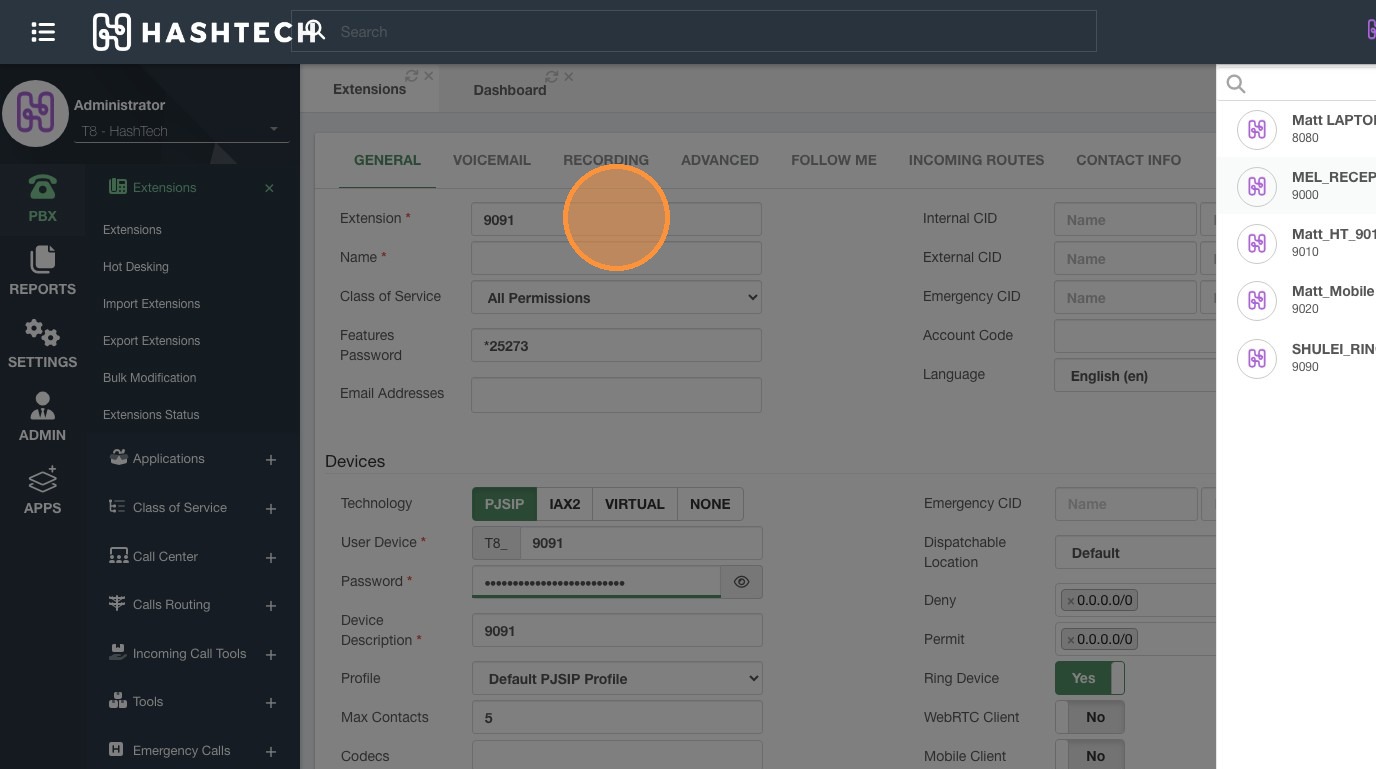
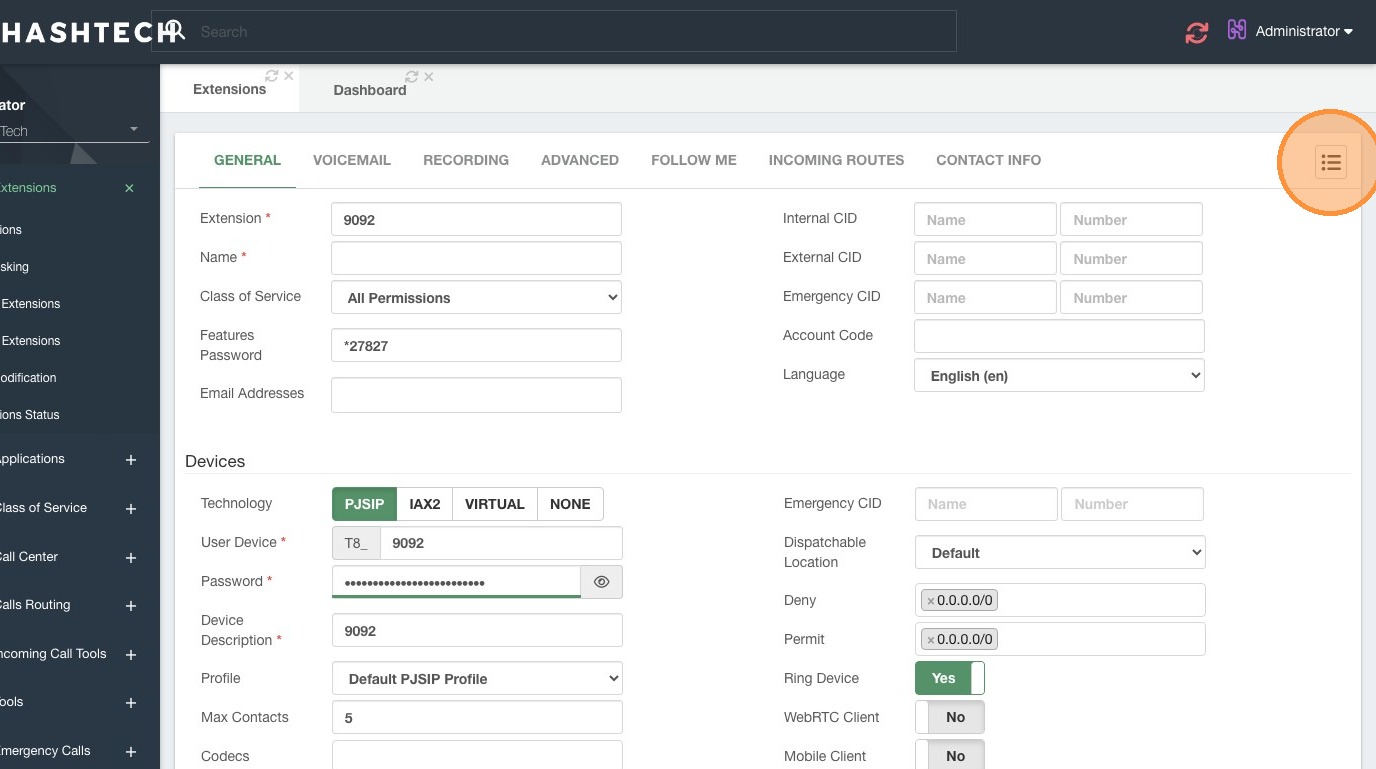
11. Click here.
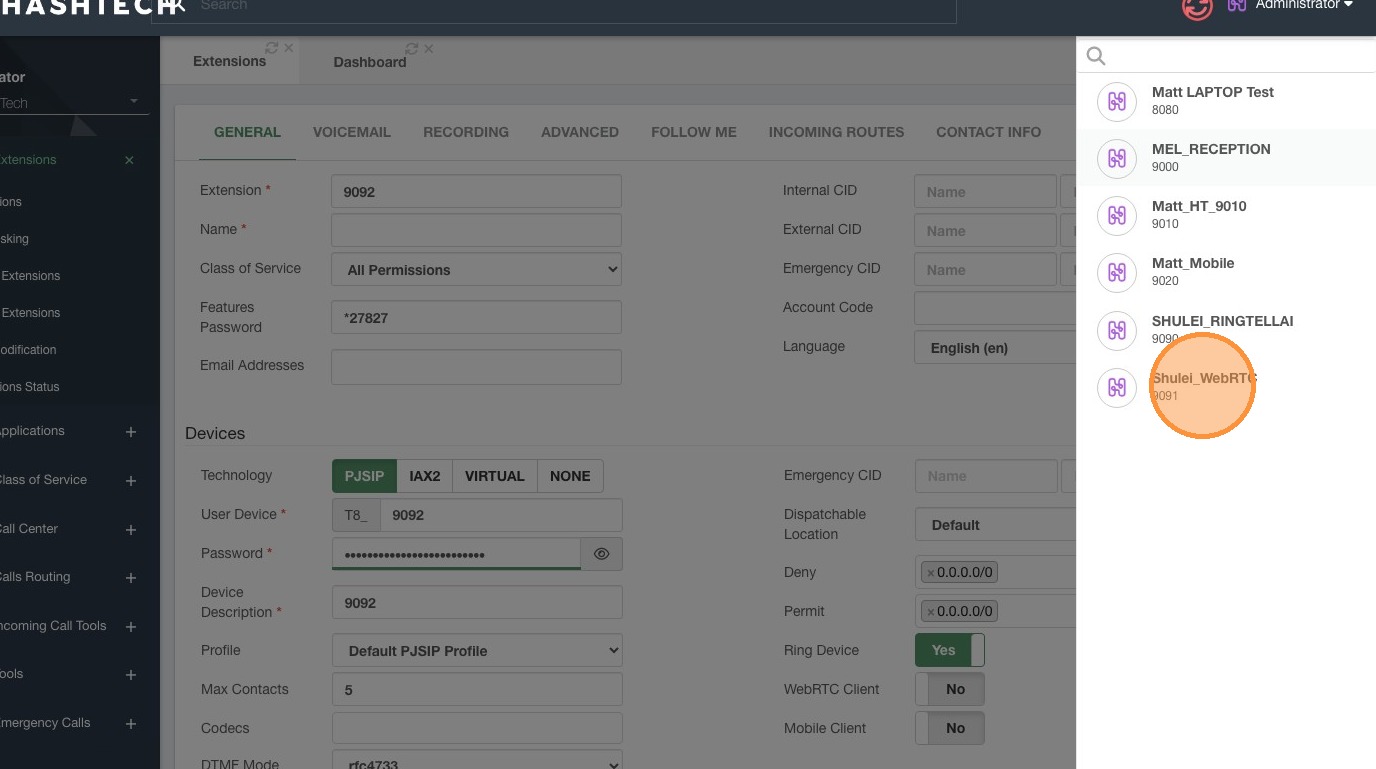
12. Click "Shulei_WebRTC"
13. Click "Need Reload"
14. Step
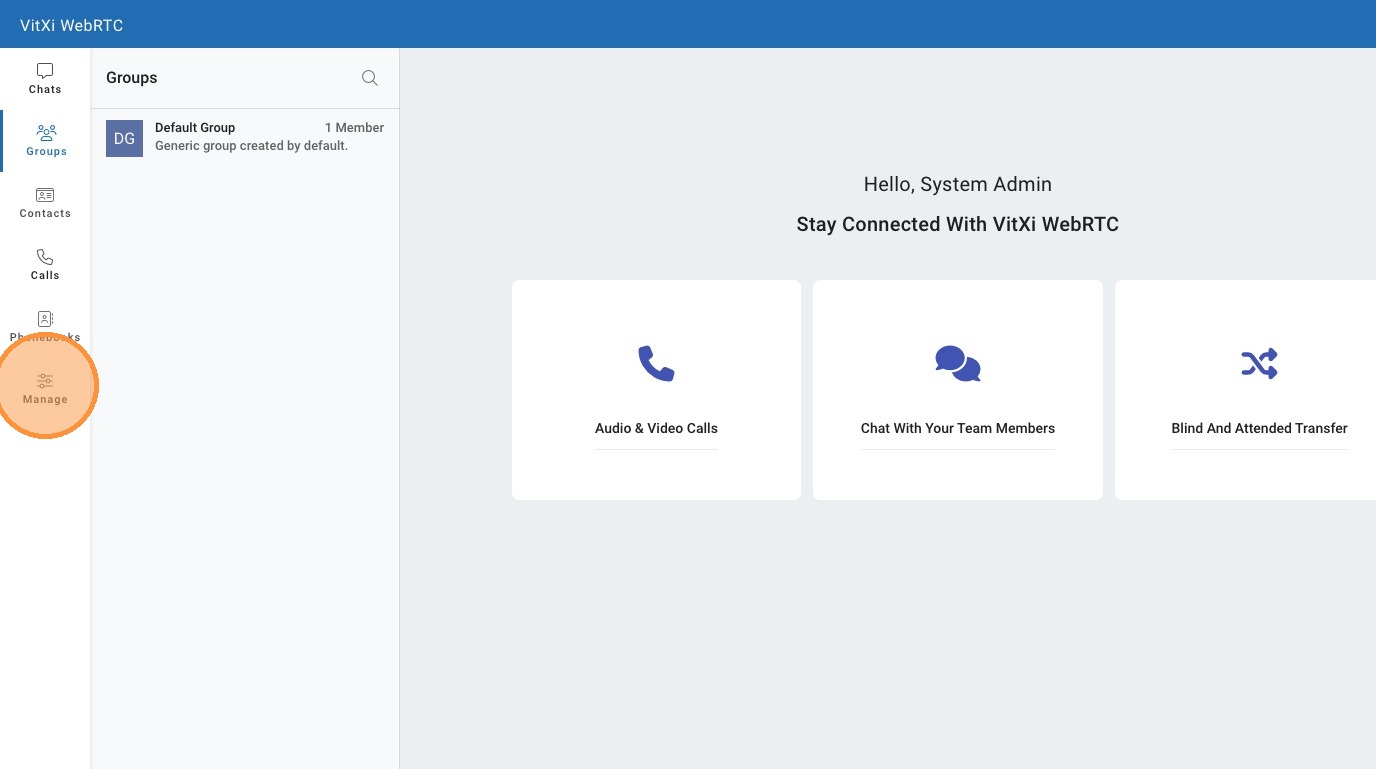
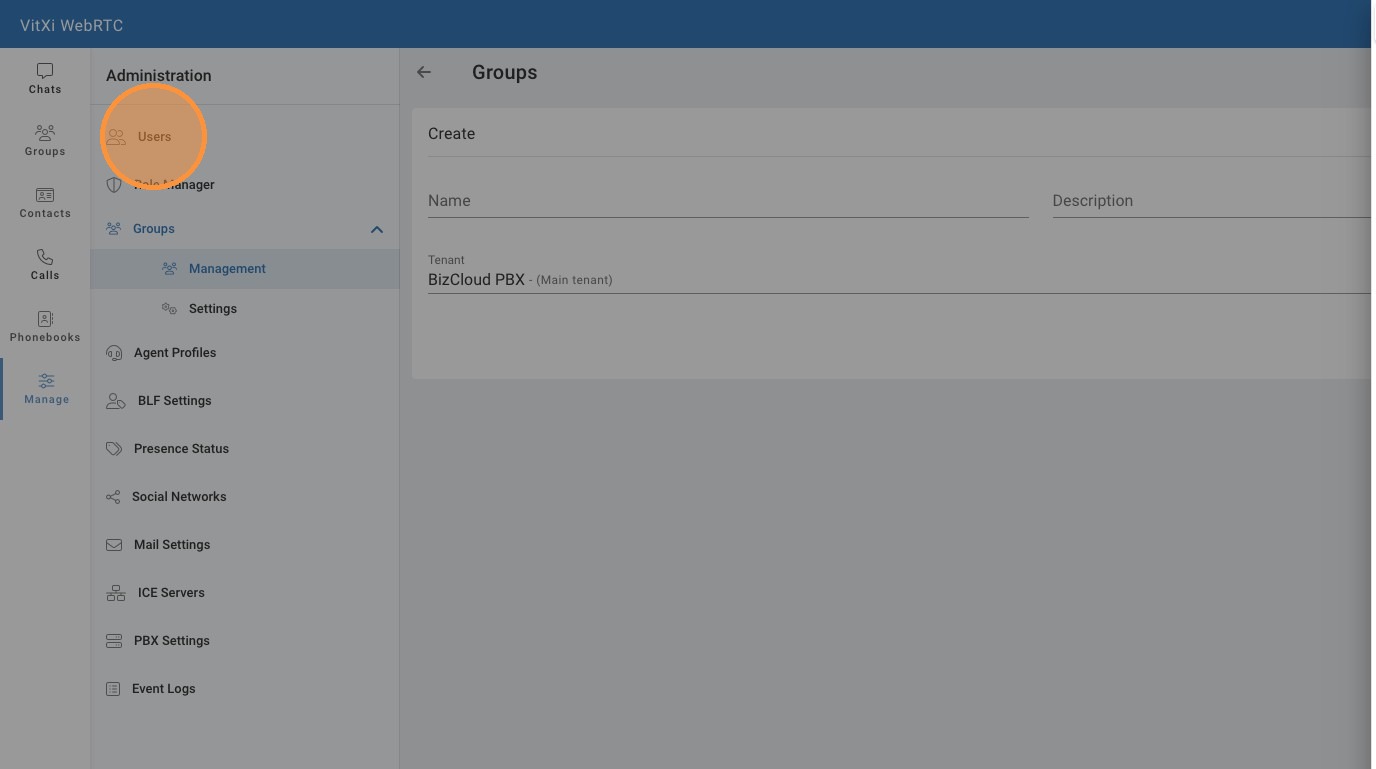
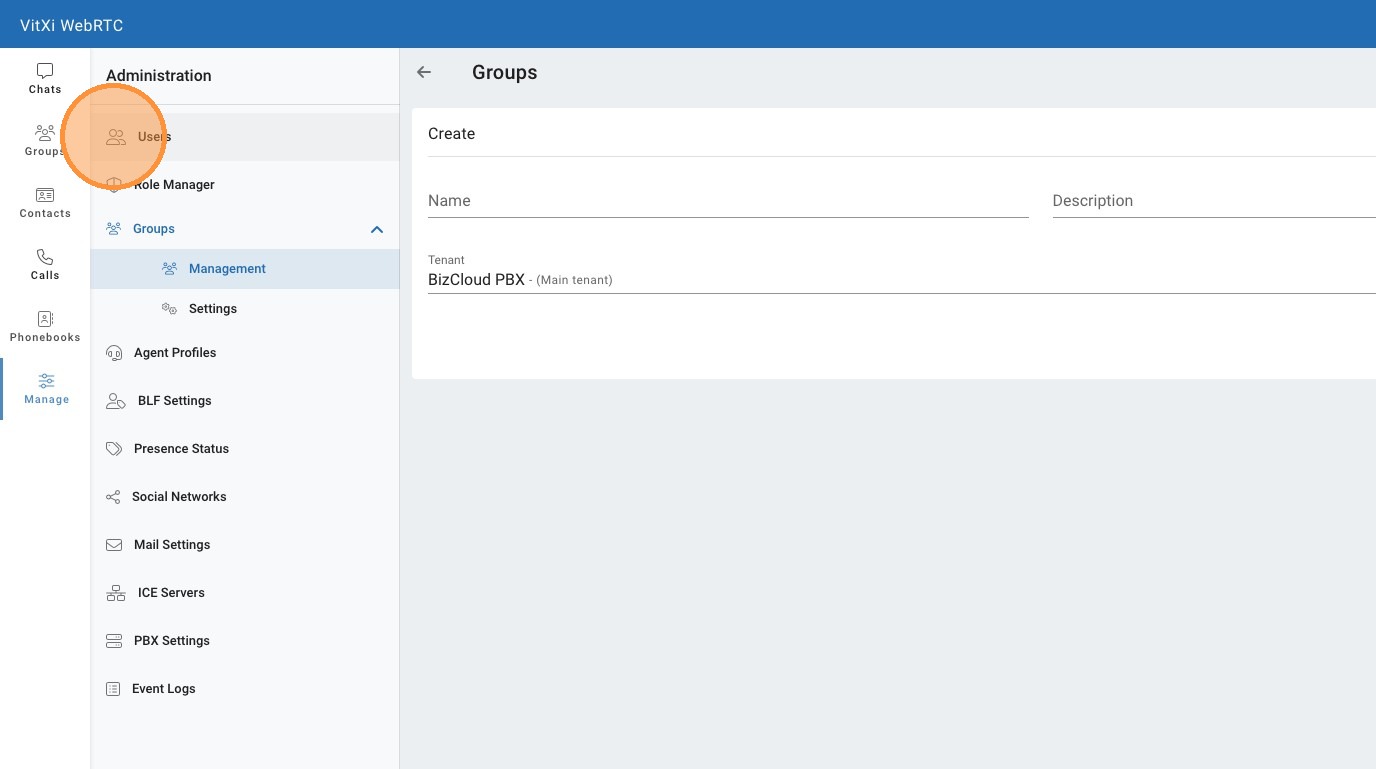
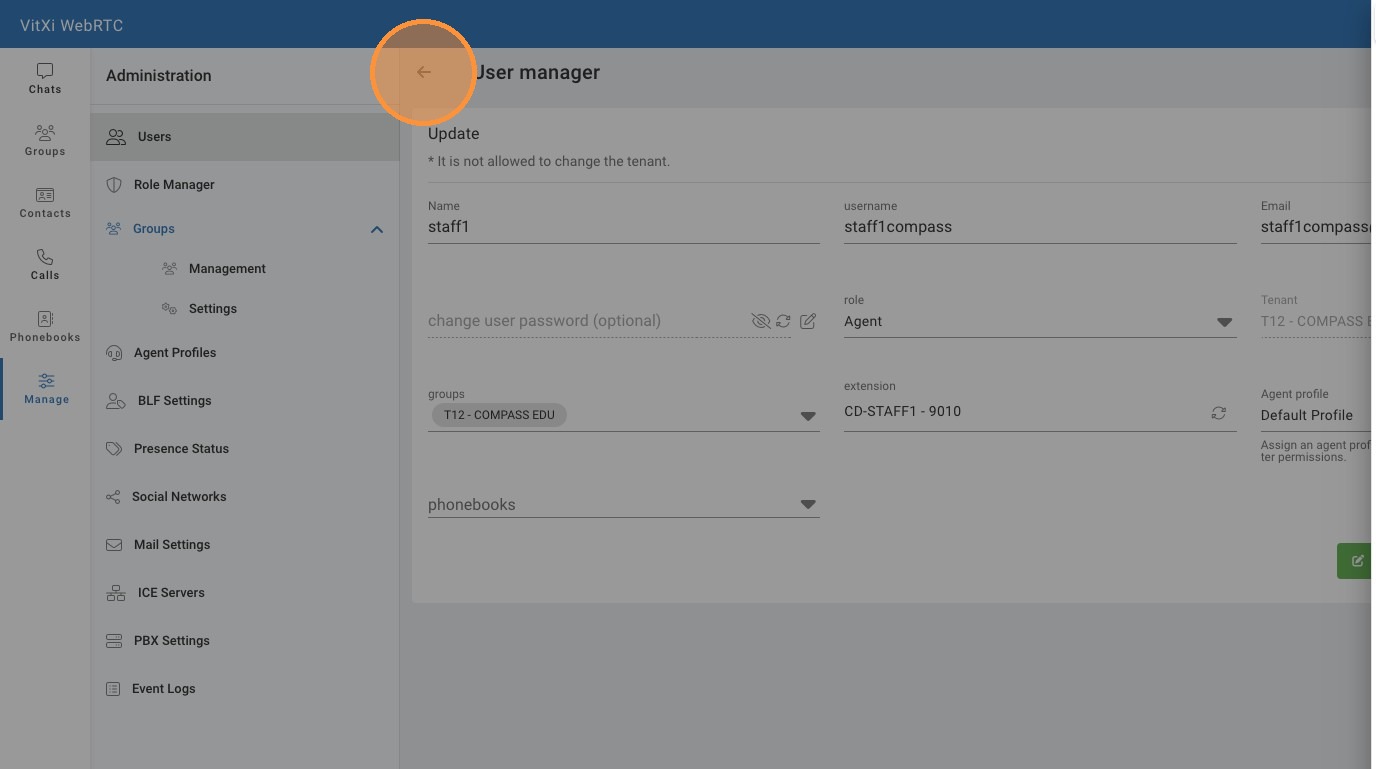
15. Navigate to this site: https://sip10.hashtech.tel/webrtc/administration/ , after login as admin, then Click here.
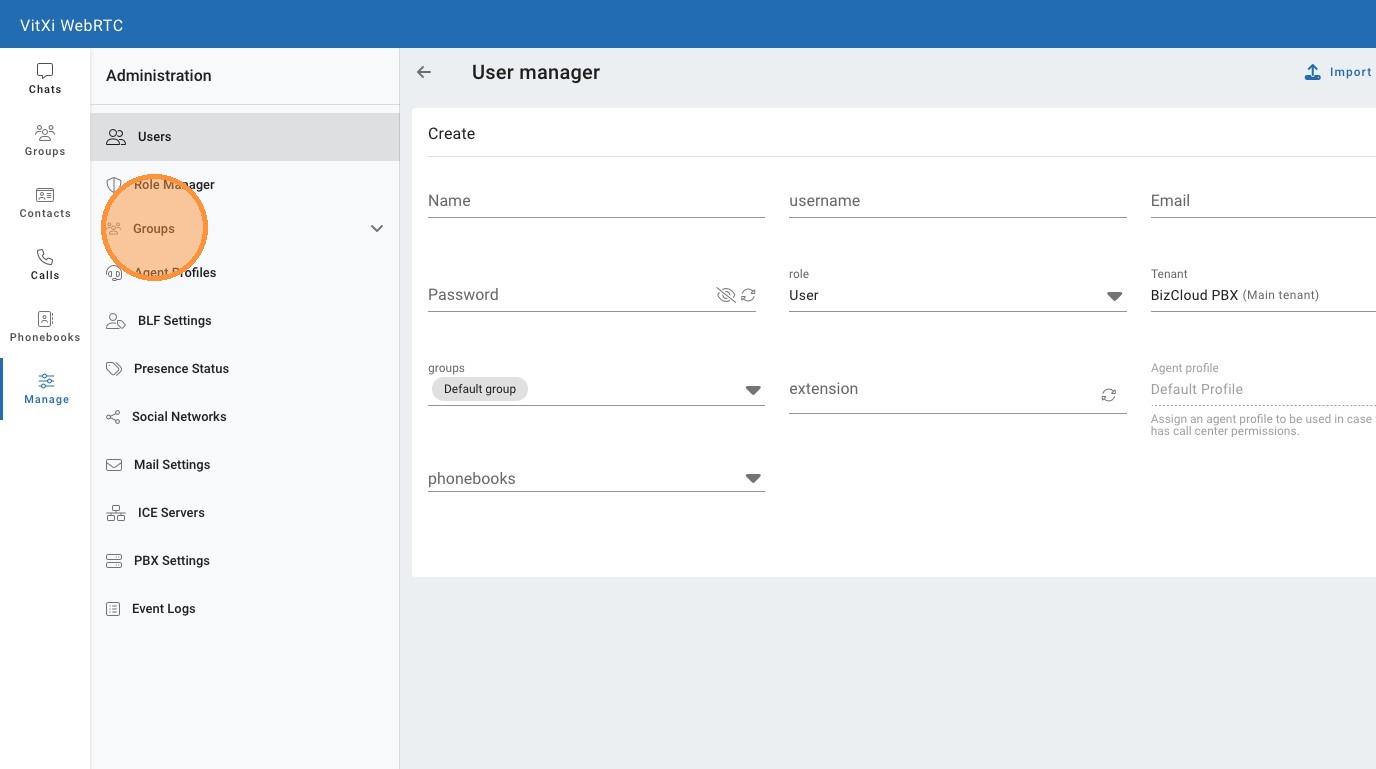
16. Click "Groups"
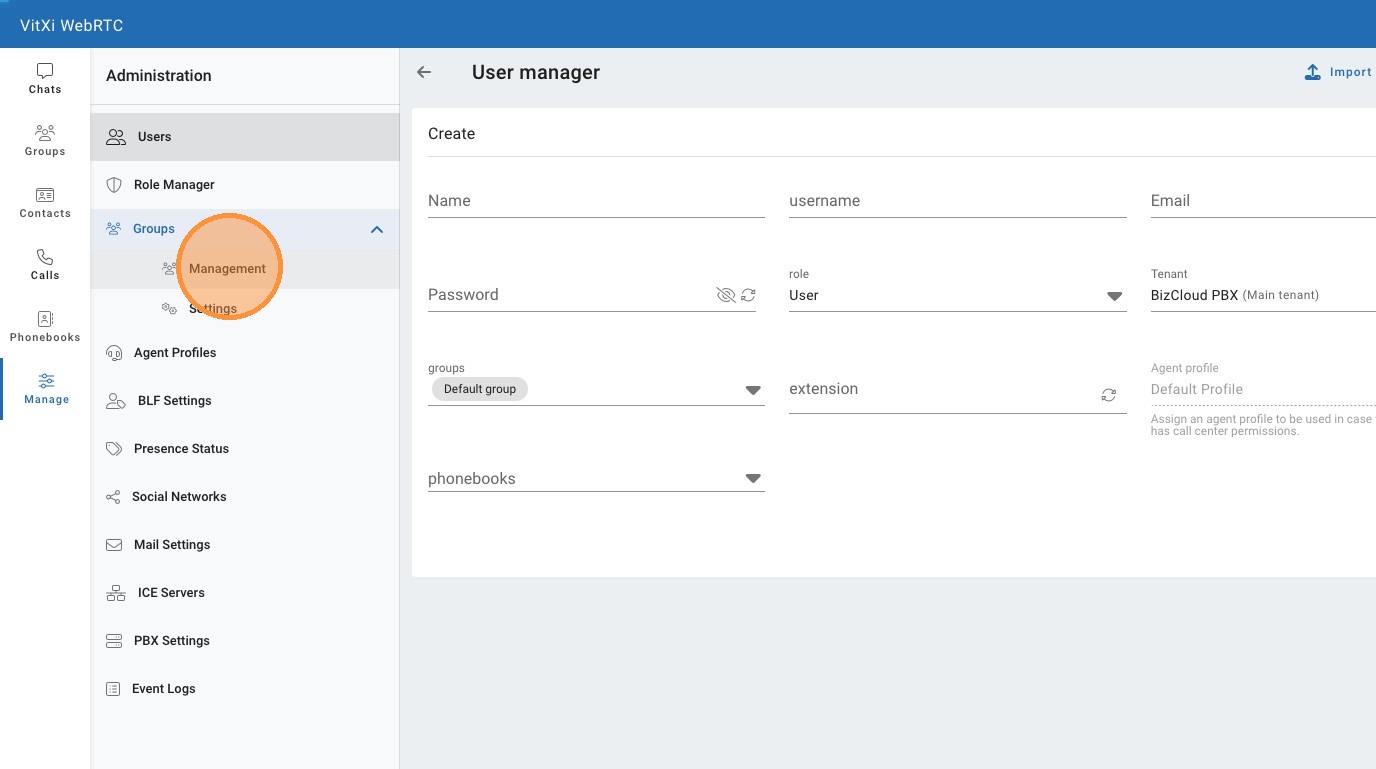
17. Click "Management"
18. Click here.
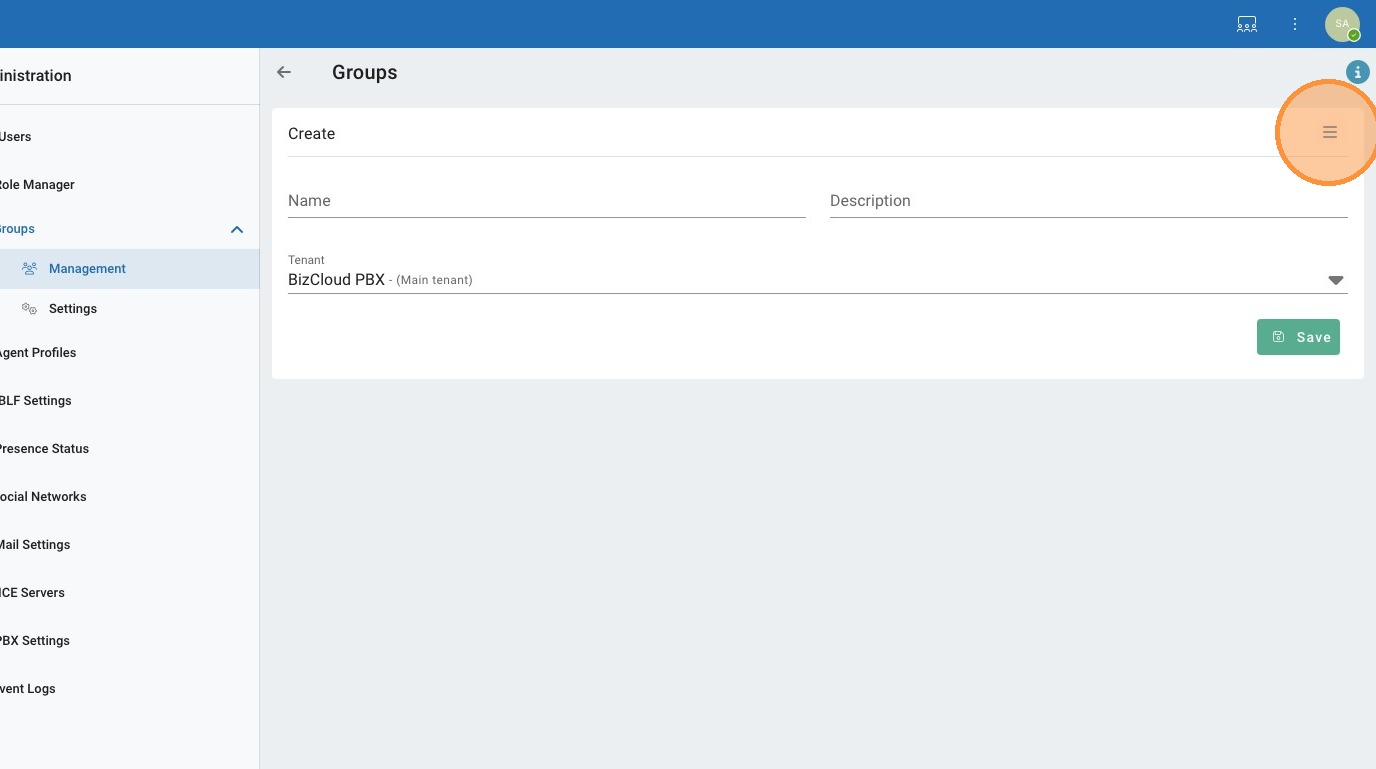
19. Click here.
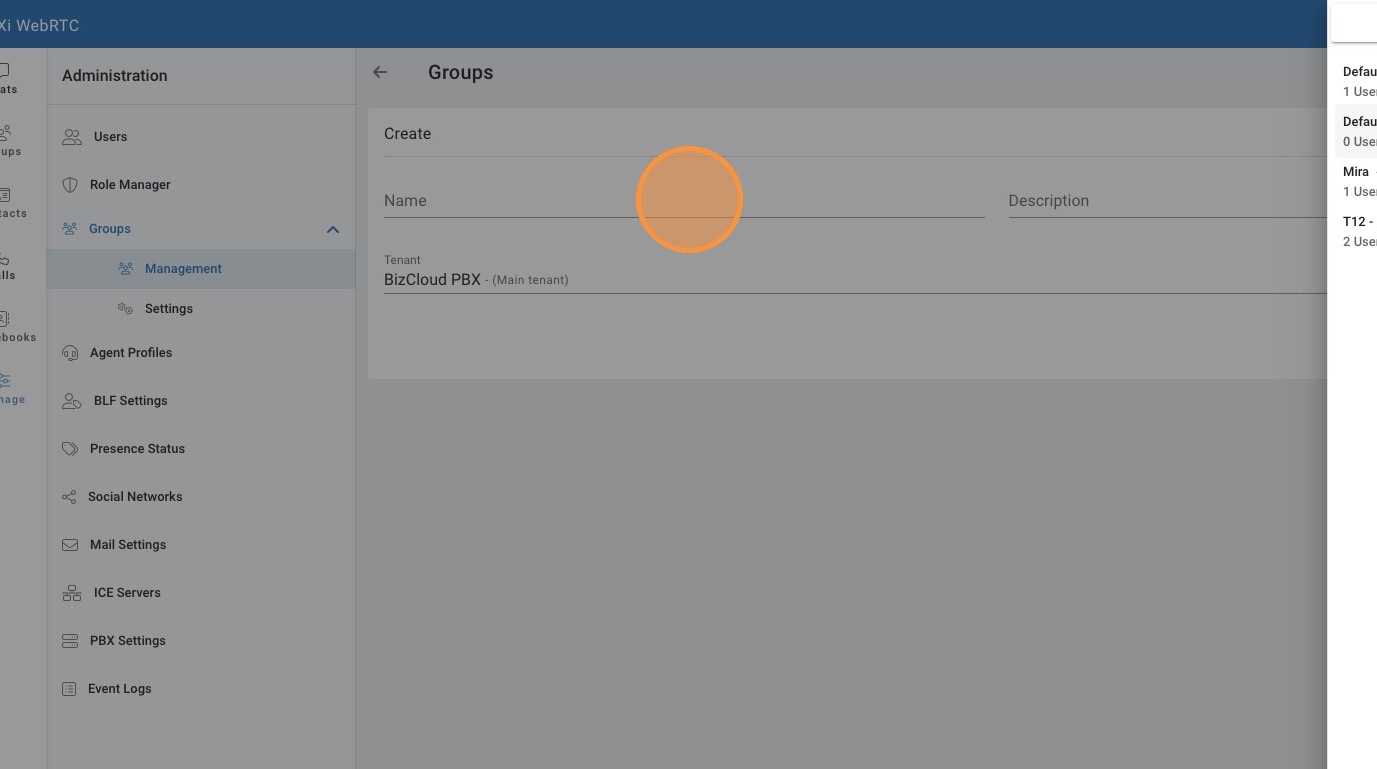
20. Click the "Name" field.
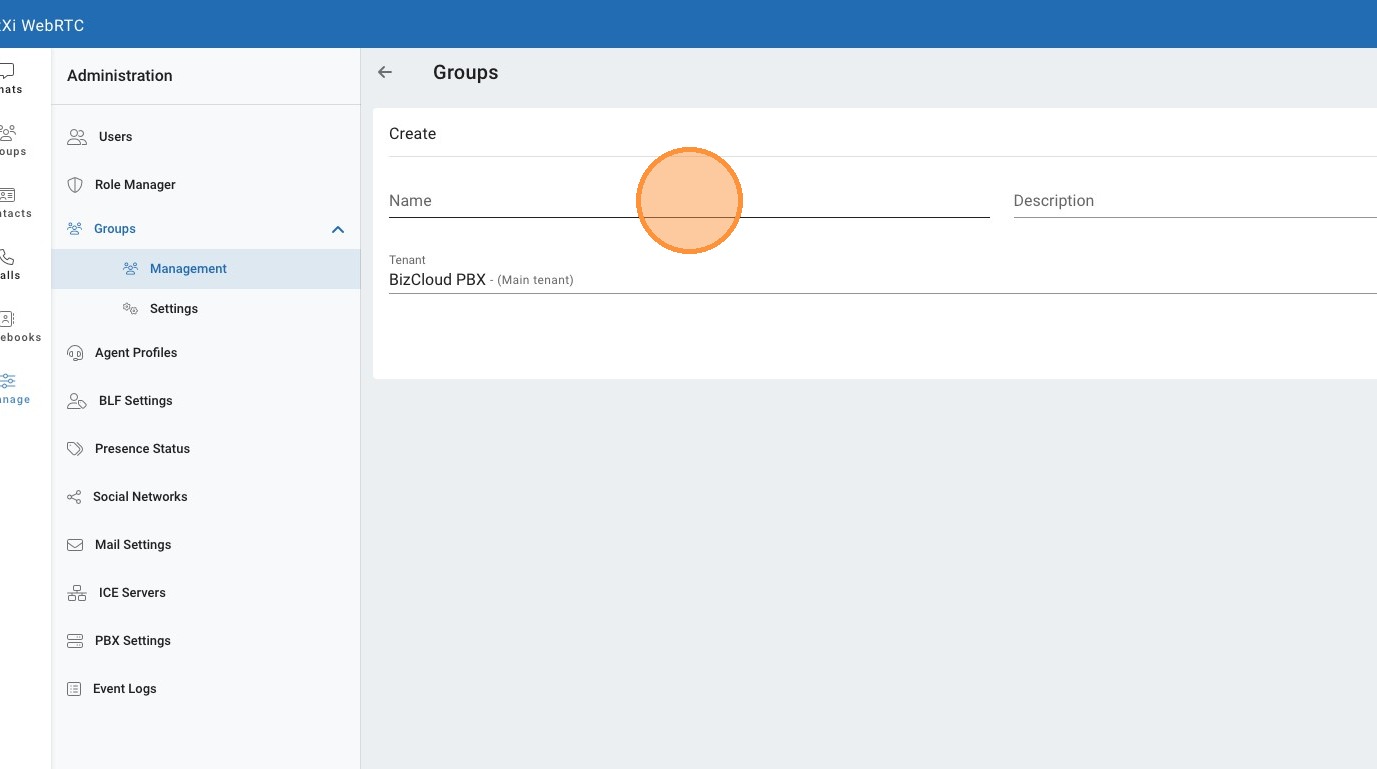
21. Click the "Description" field.

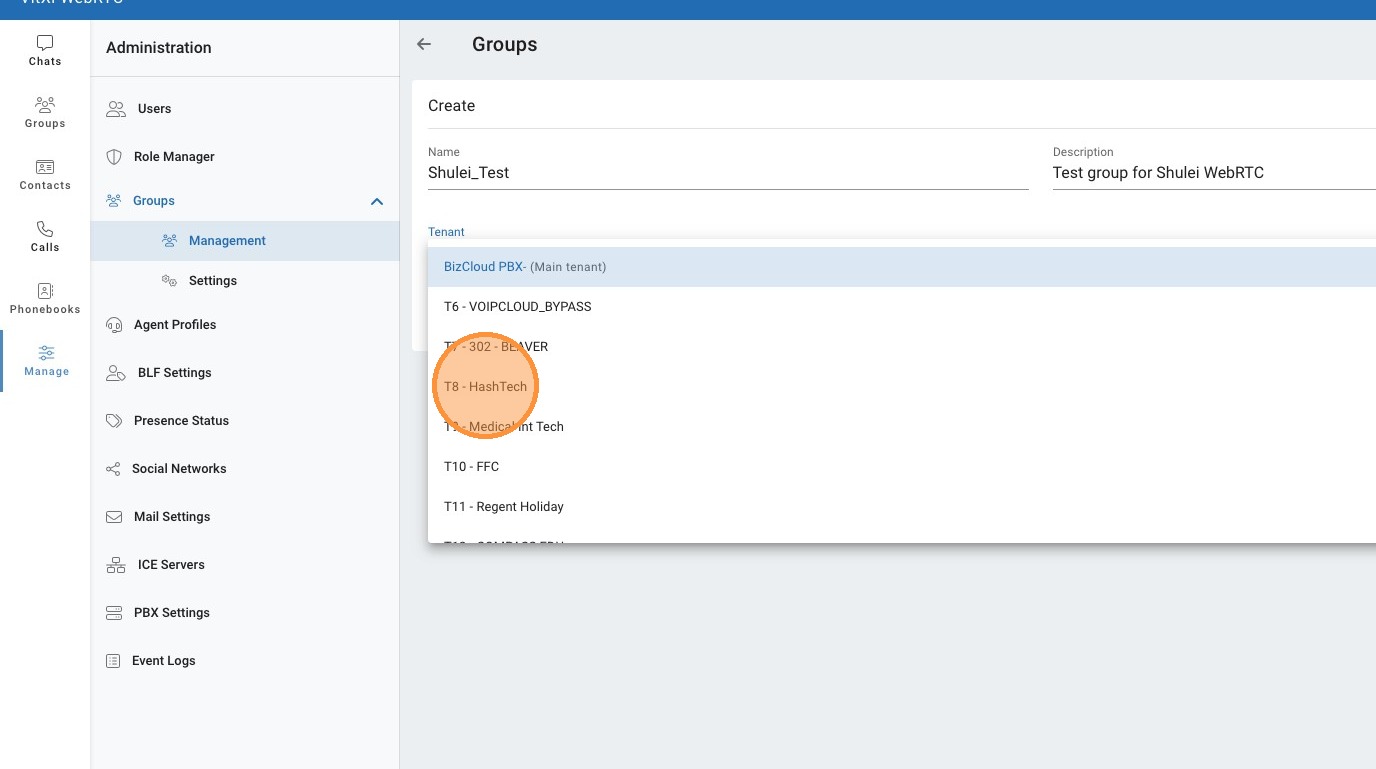
22. Click "BizCloud PBX - (Main tenant)"
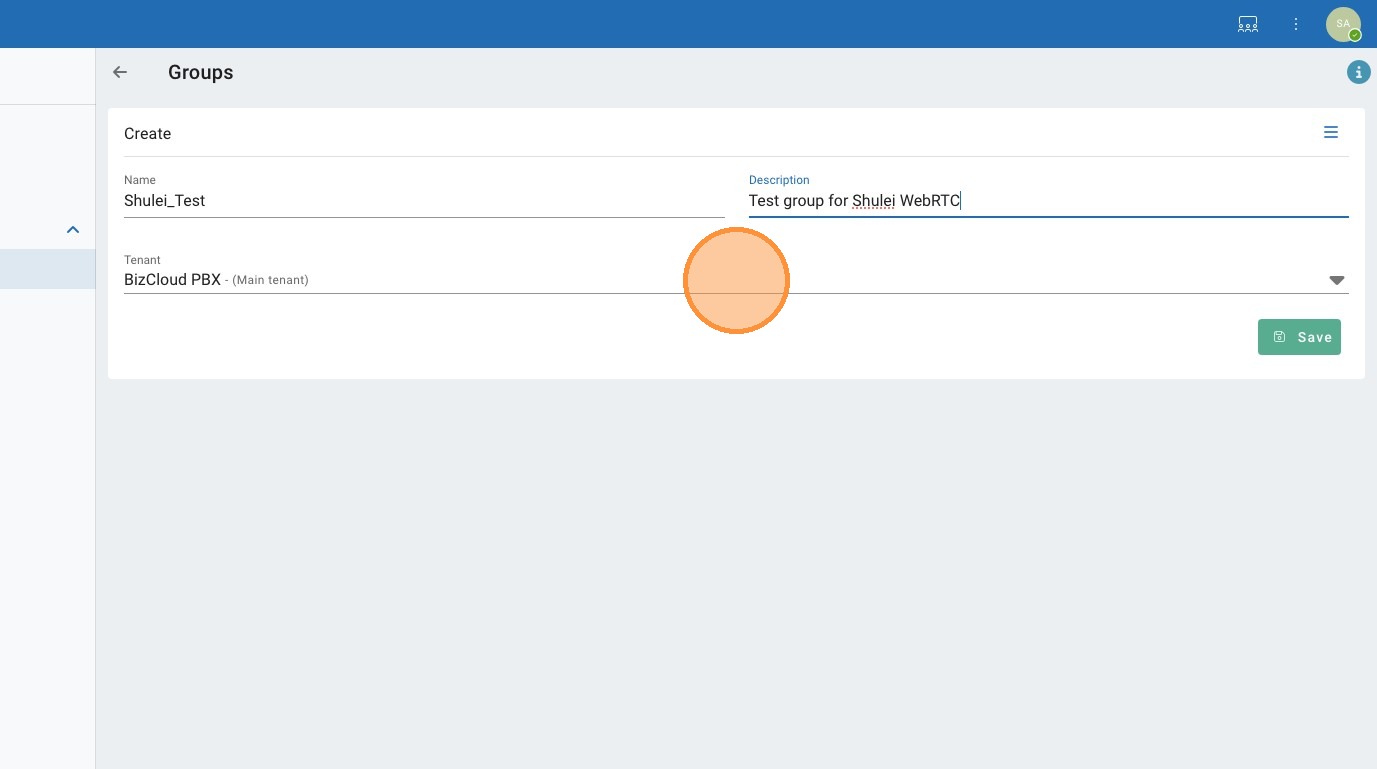
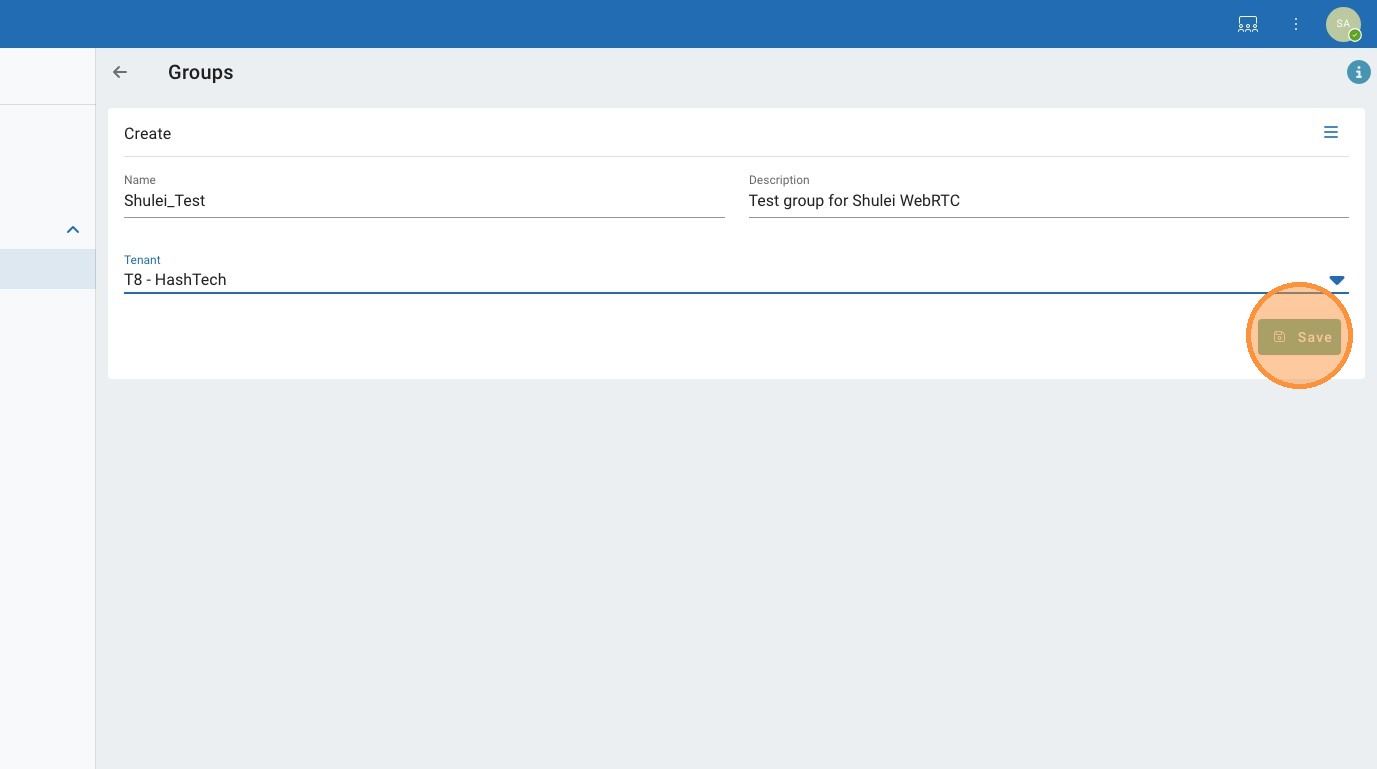
23. Click "T8 - HashTech"
24. Click "Save"
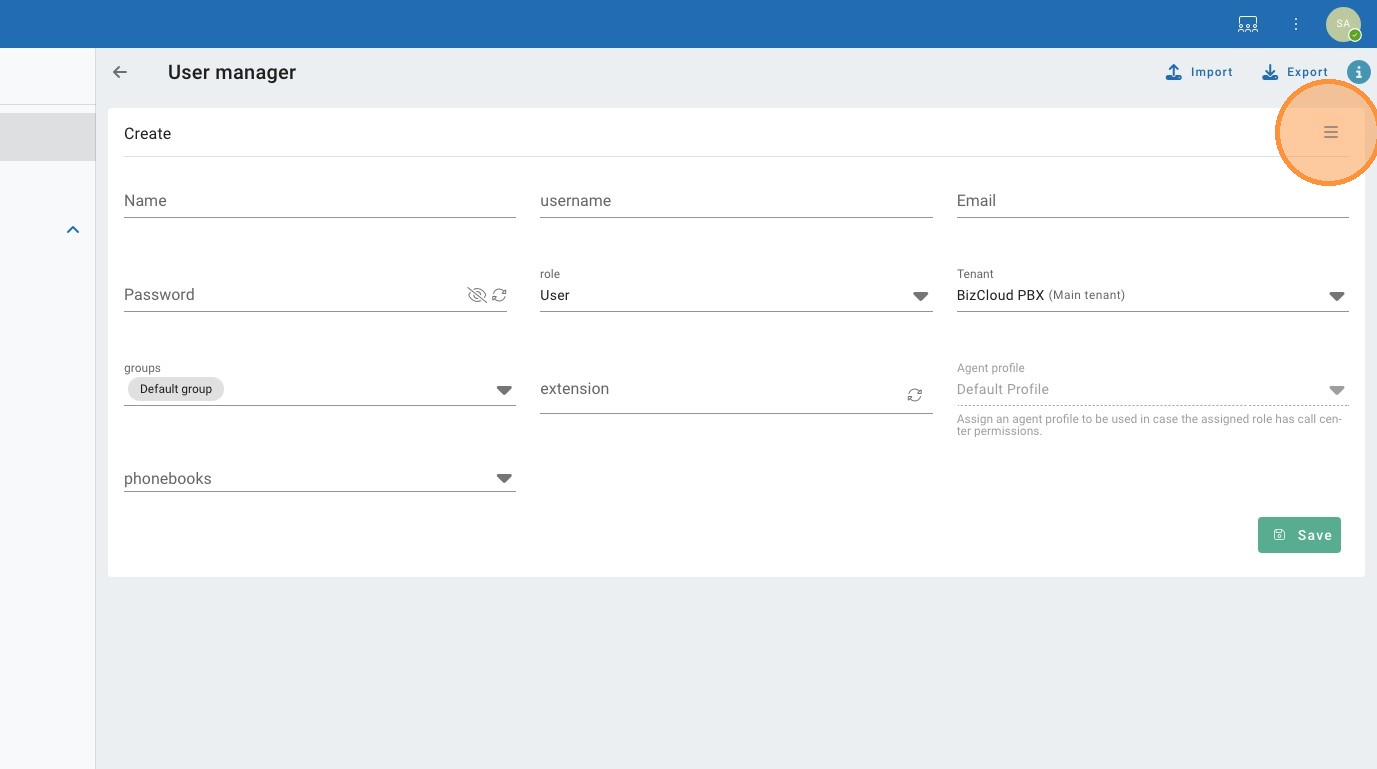
25. Click here.
26. Click here.
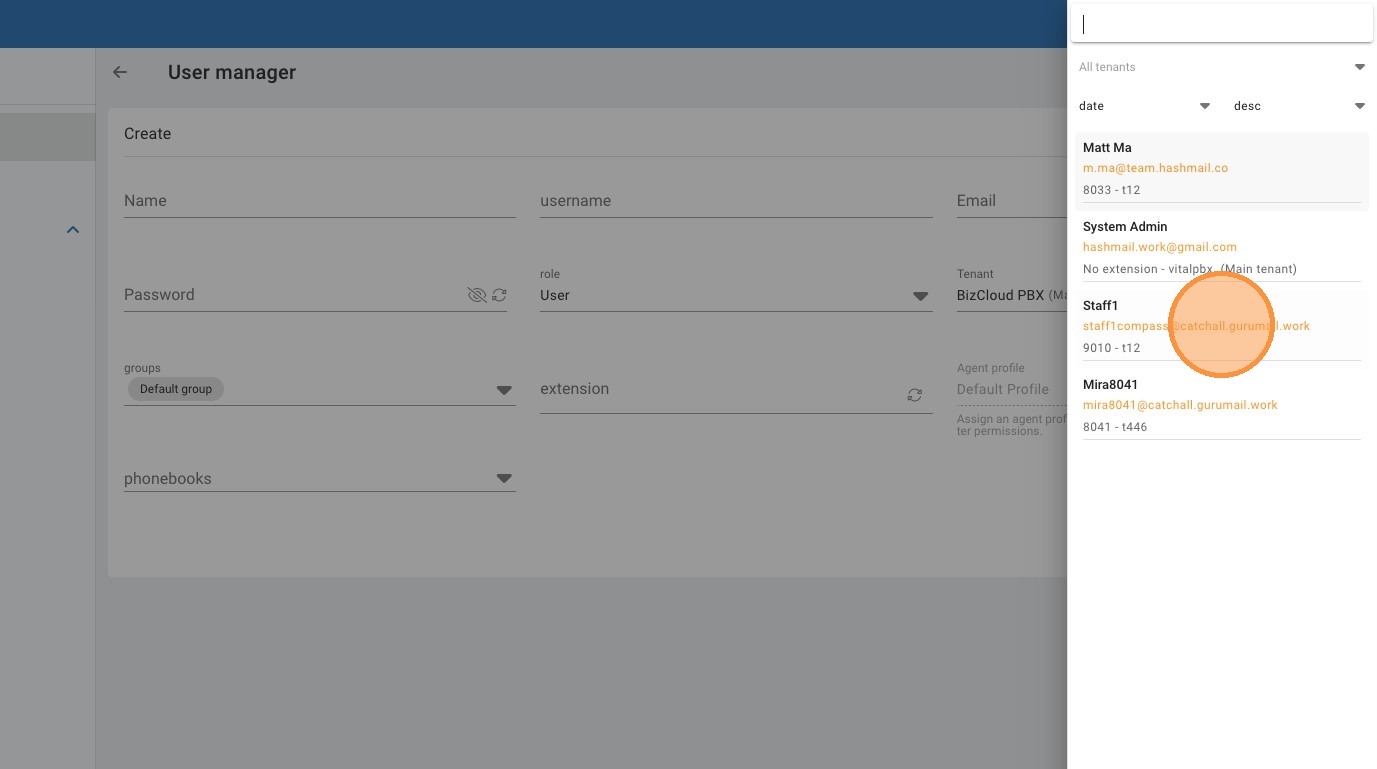
27. Click here.
28. Click "staff1compass@catchall.gurumail.work"
29. Click here.
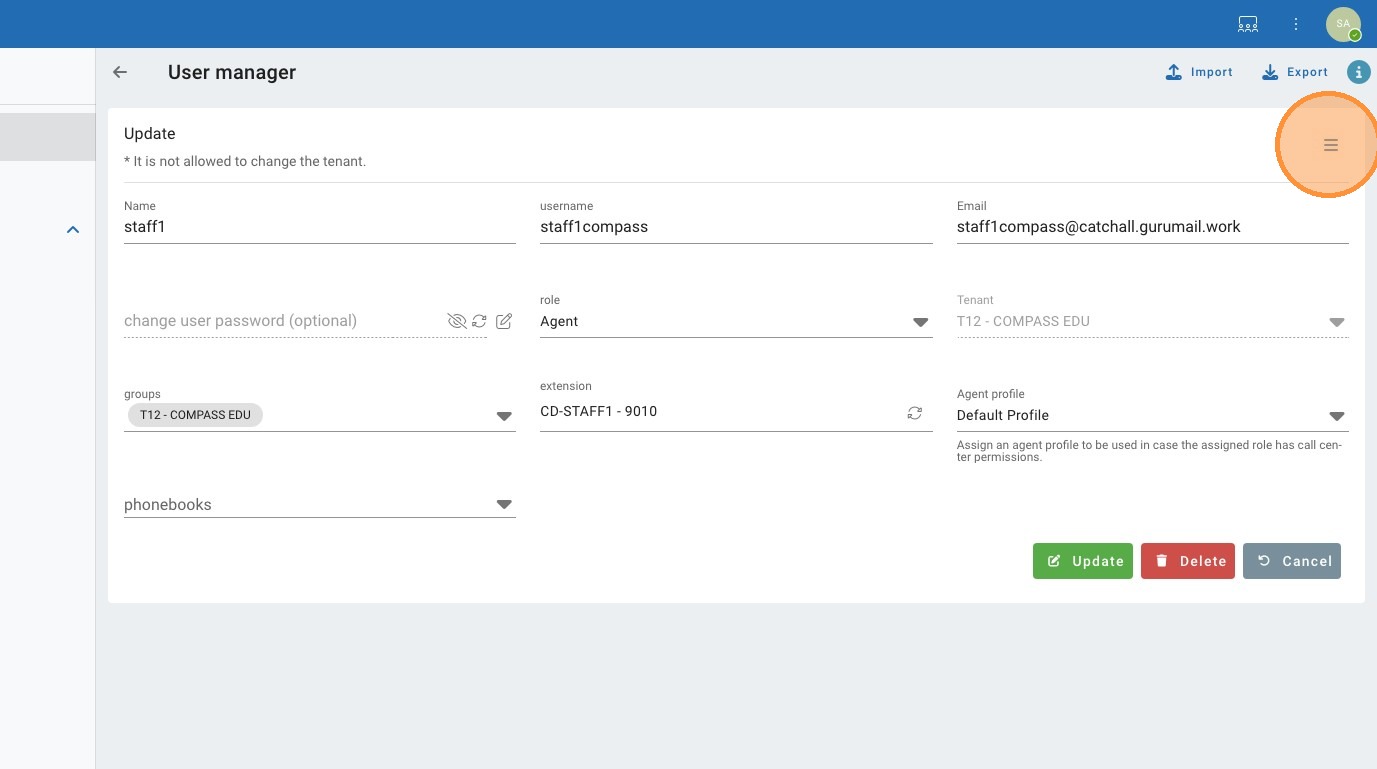
30. Type " [[esc]]"
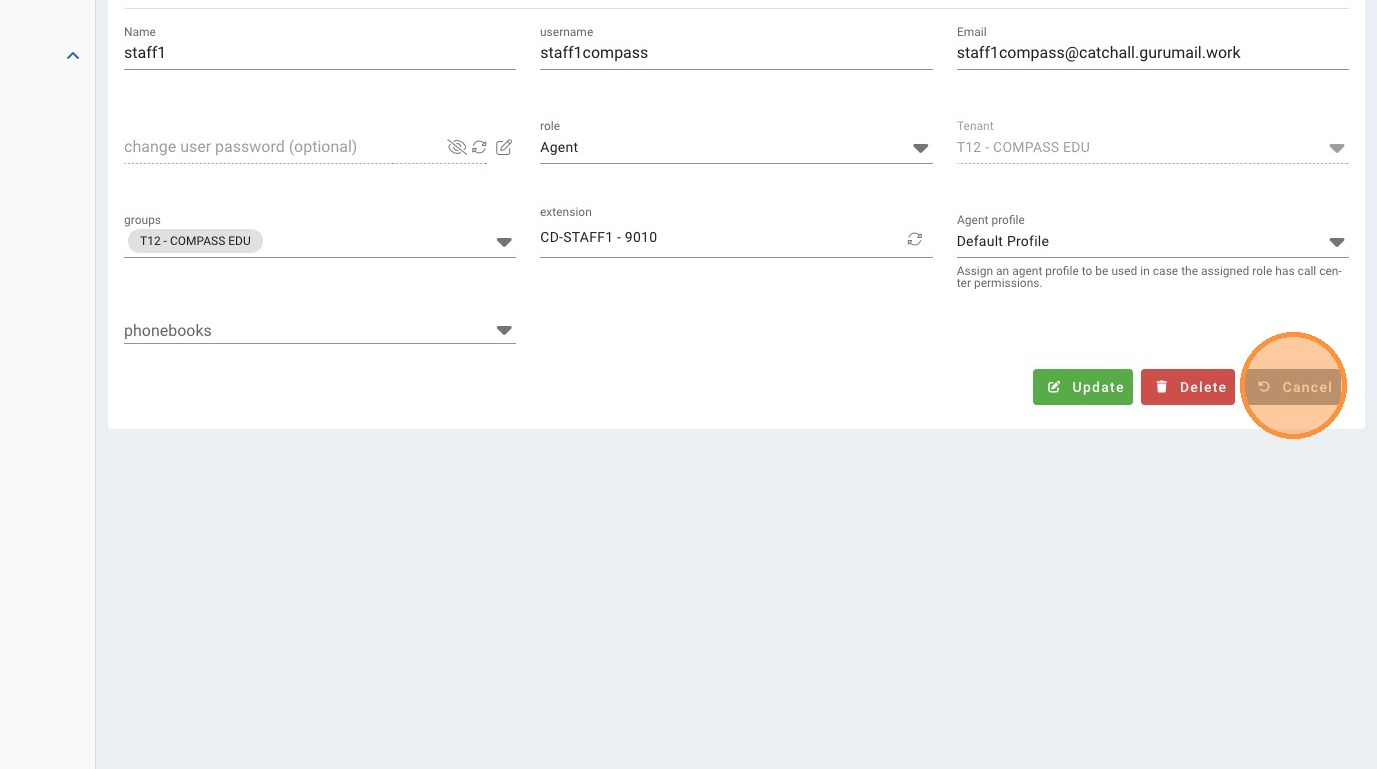
31. Click here.
32. Click "Cancel"
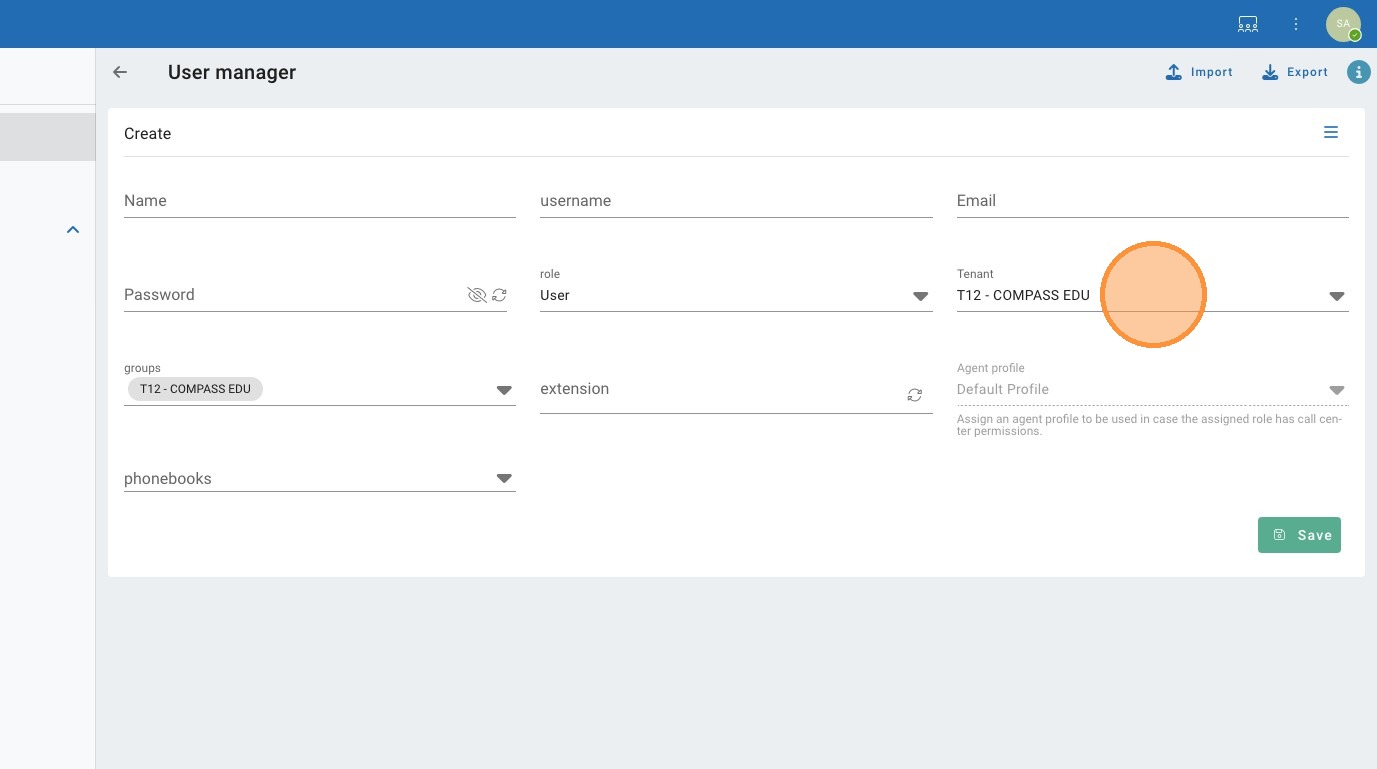
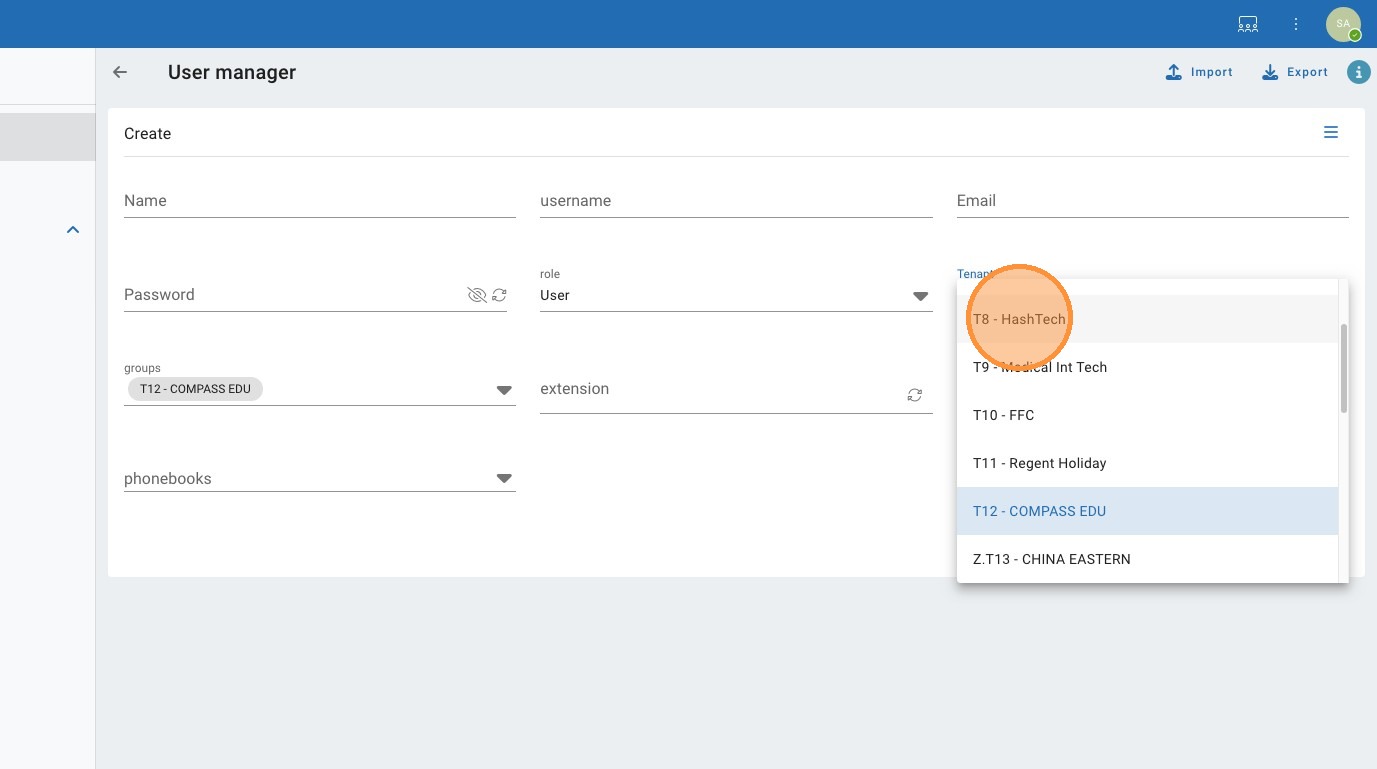
33. Click the "Tenant" field.
34. Click "T8 - HashTech"
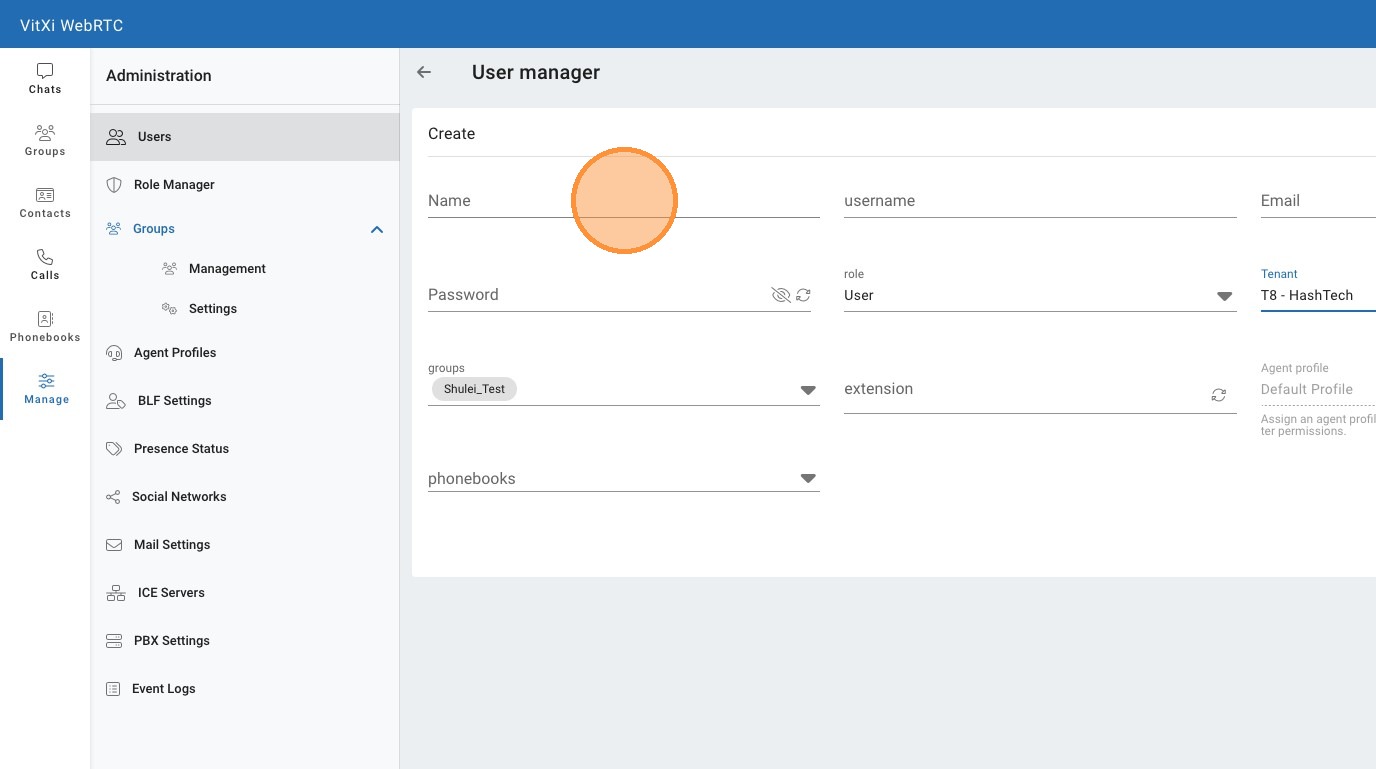
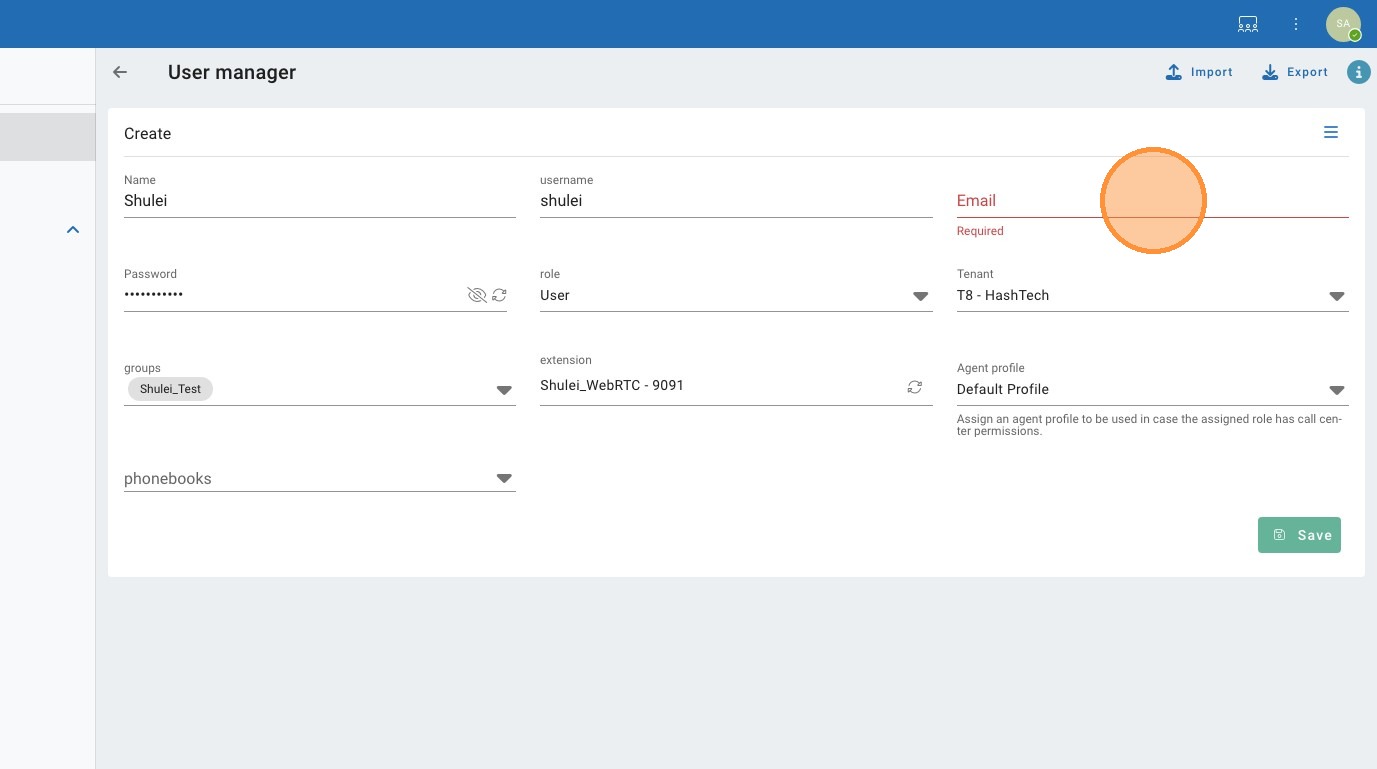
35. Click the "Email" field.

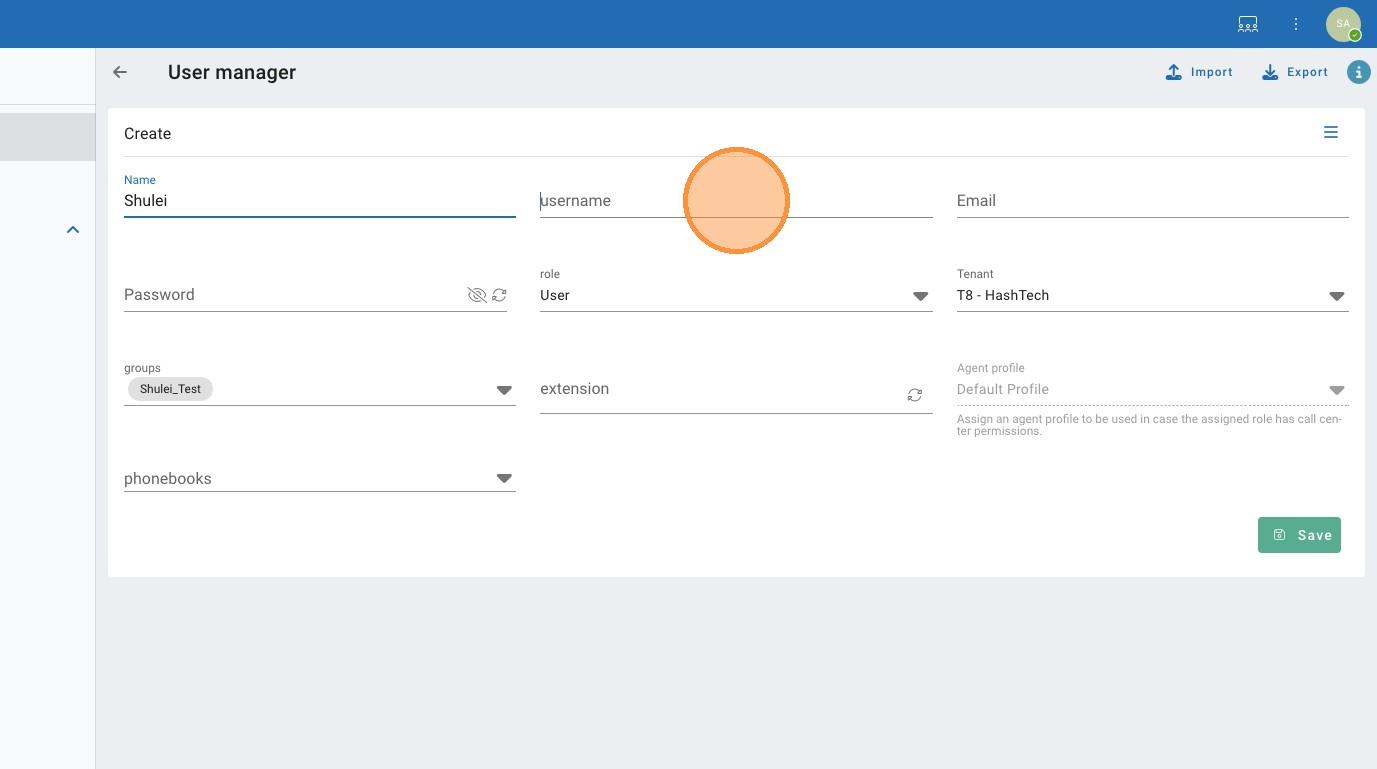
36. Click the "Name" field.
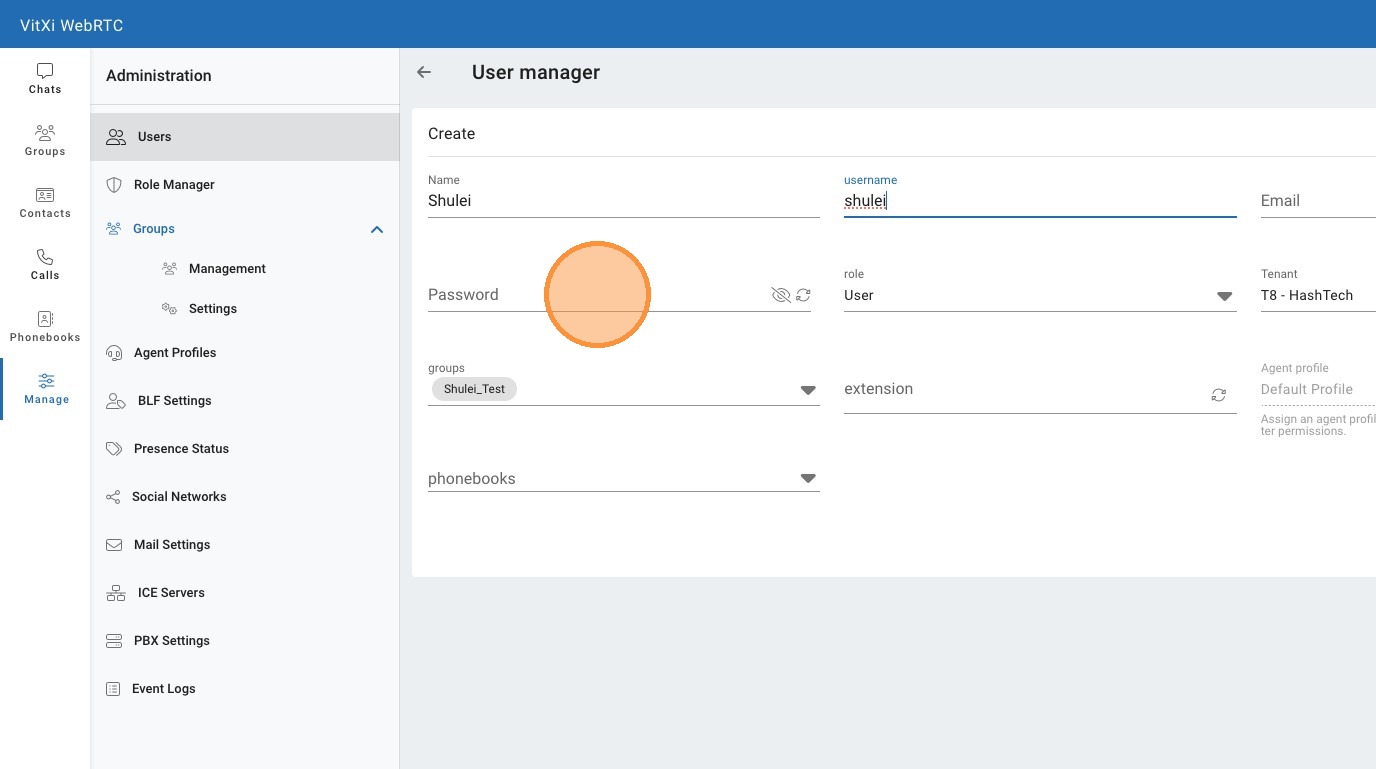
37. Click the "username" field.
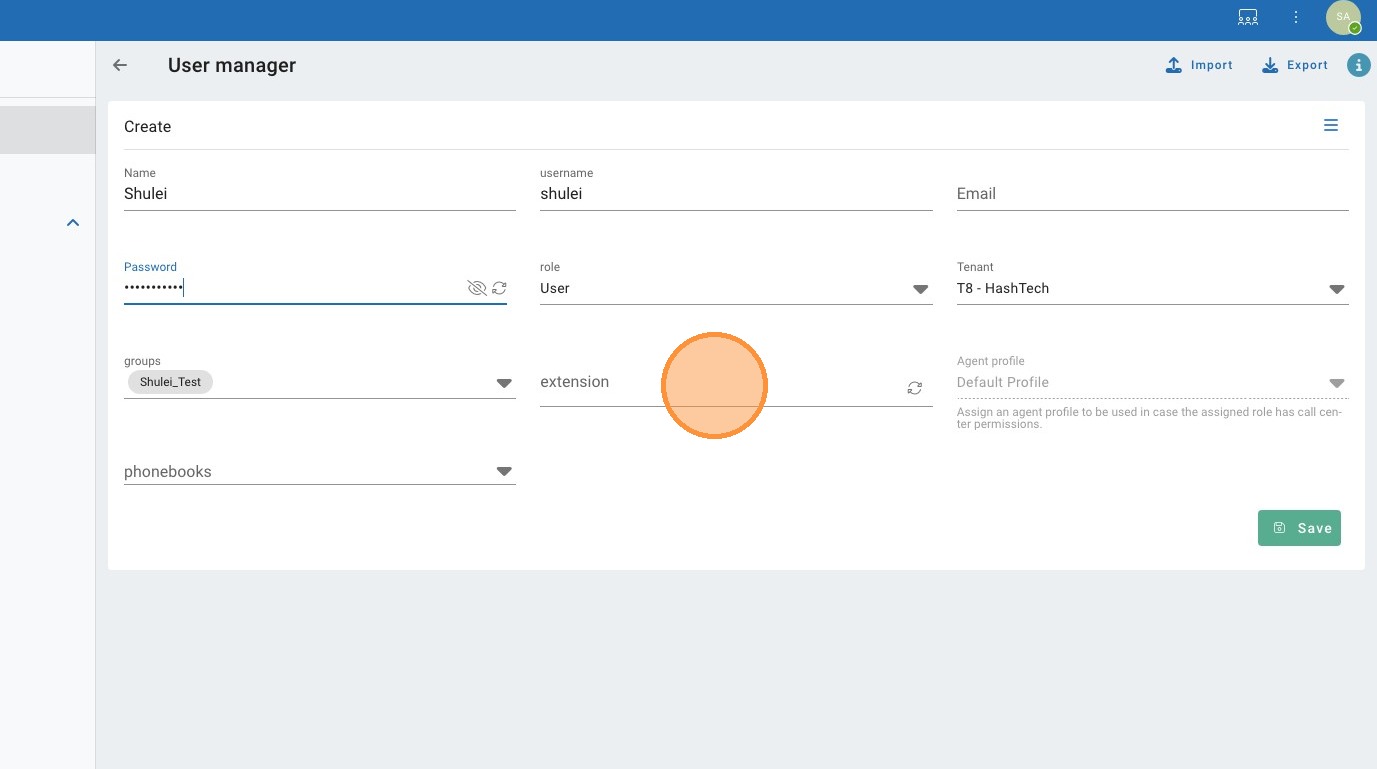
38. Click the "Password" field.
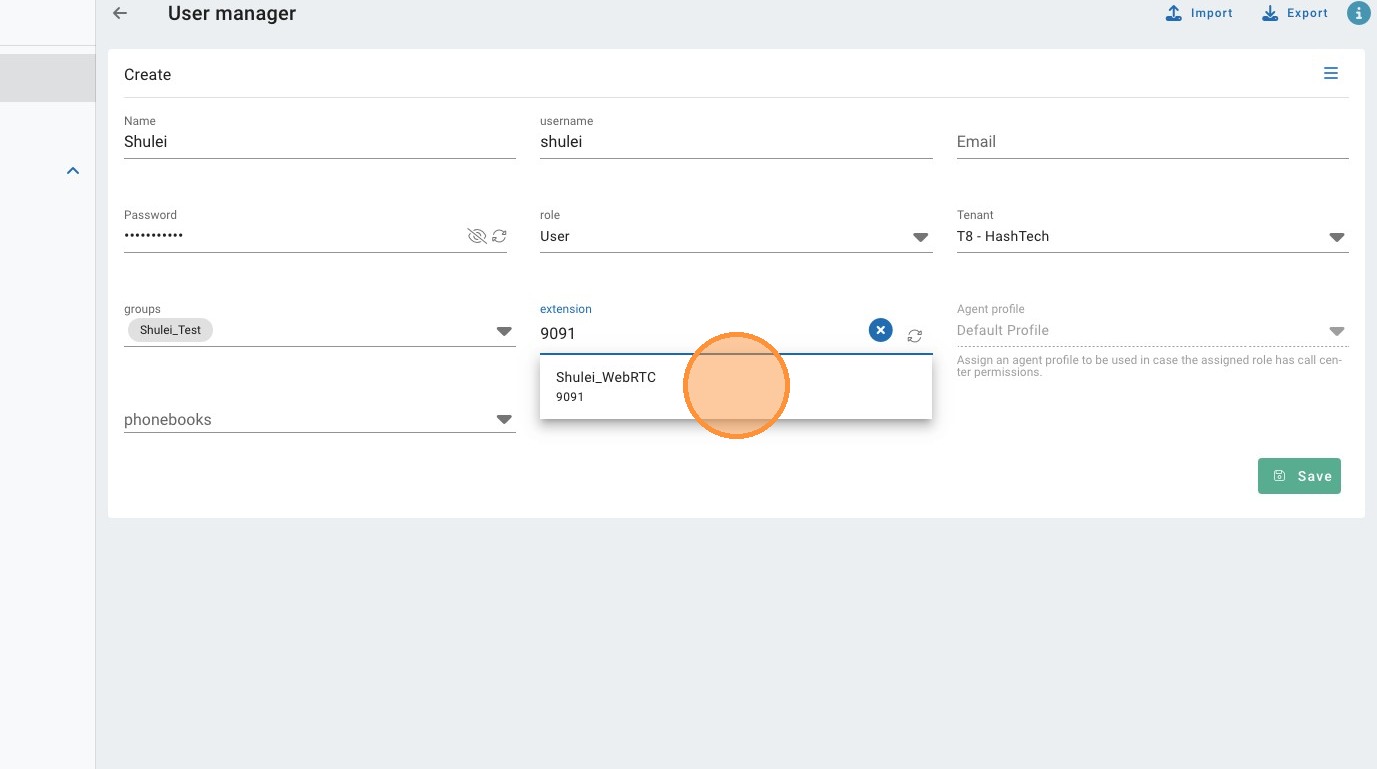
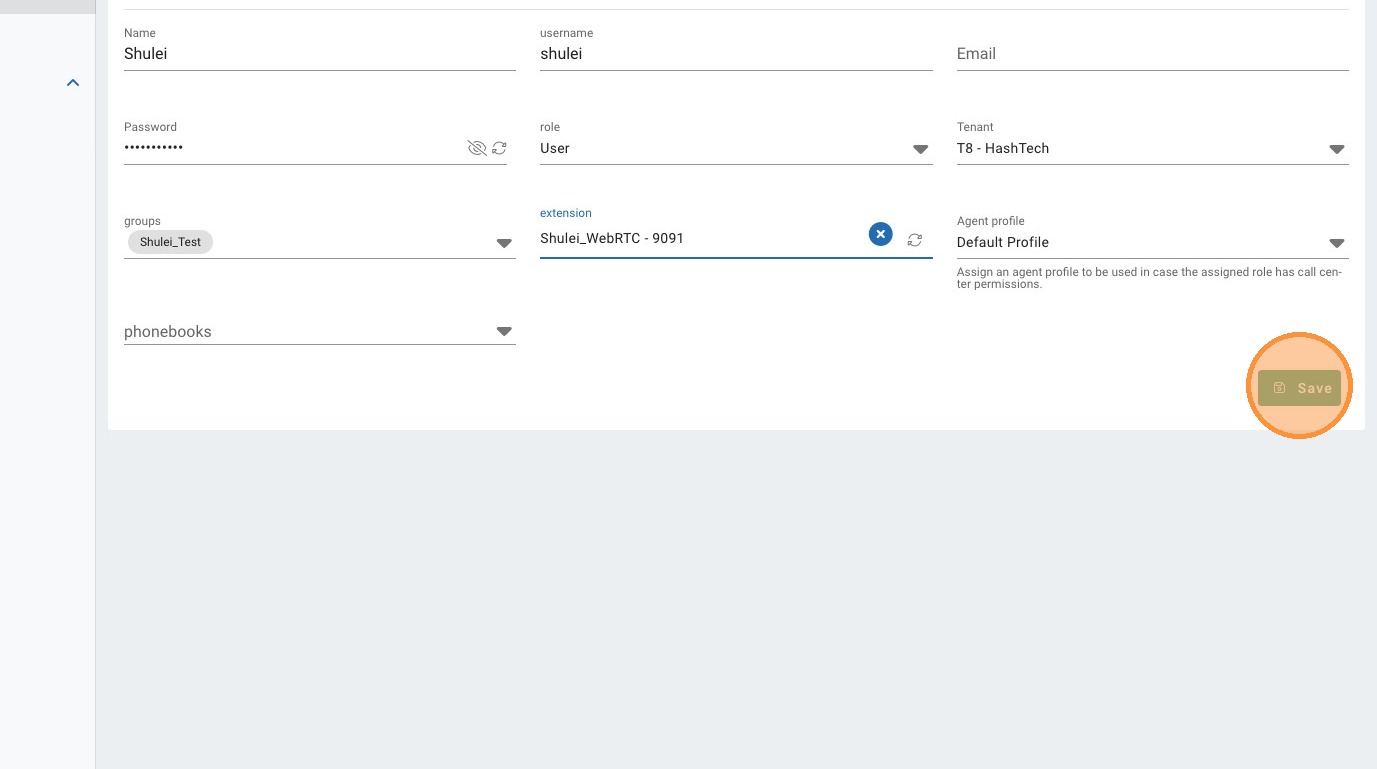
39. Click the "extension" field.
40. Click "Shulei_WebRTC 9091"
41. Click "Save"
42. Click the "Email" field.
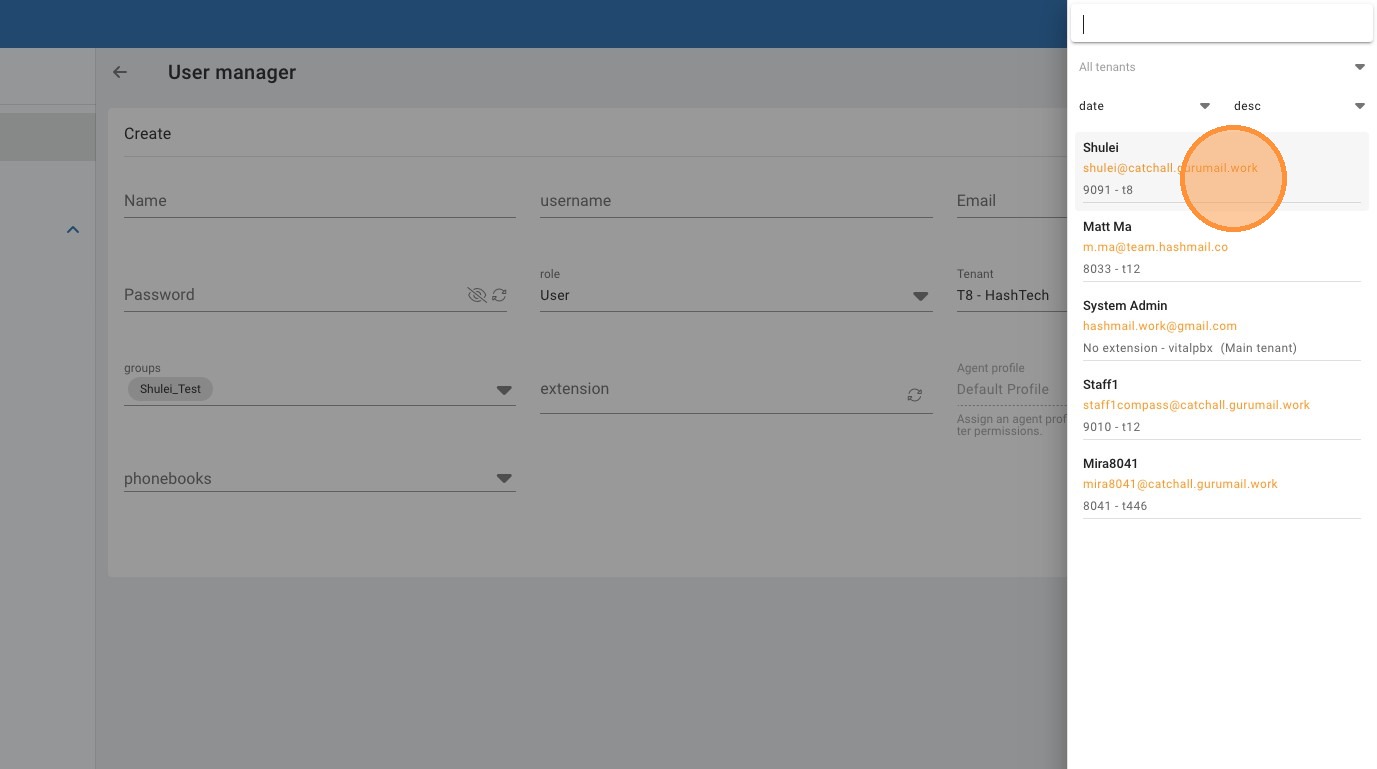
43. Click "Save"

44. Click "Shulei shulei@catchall.gurumail.work 9091 - t8"
Made with Scribe
